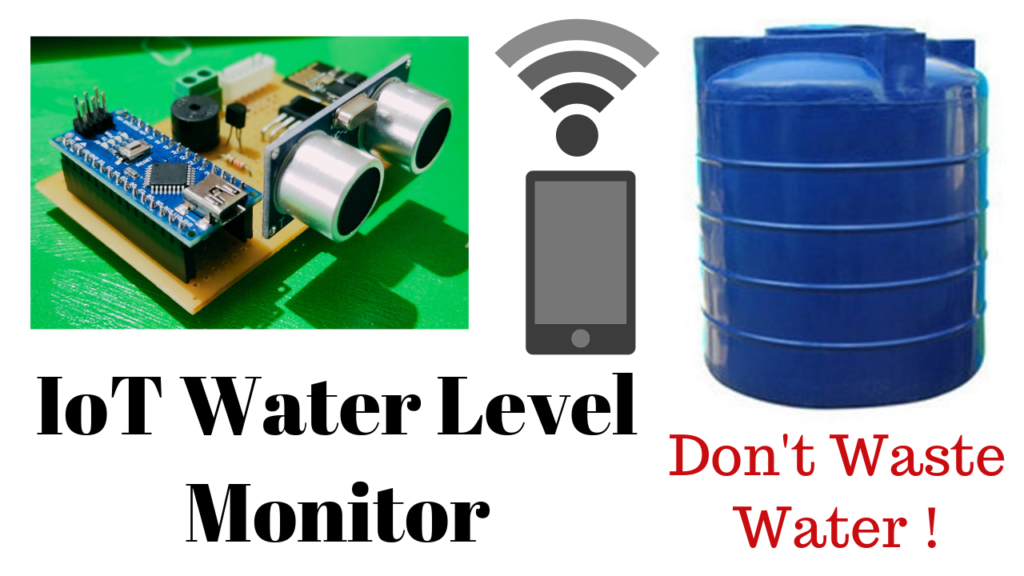
IoT based water level Indicator
In up coming years water is going to be priceless. In many countries government is running are several projects to save water. We should understand and start conserving water to deal with scarcity of water in up coming years.
IoT based water level Indicator is such a project, which can be use to reduce wastage of water and save electricity as well.
This project is different from most of the other projects available on the internet. This project doesn’t require any sensor to be inserted inside water tank.
How it works?
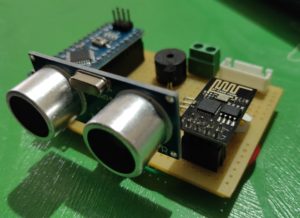
This project uses ultrasonic sensor which measures the water level. The data is sent to Arduino as well as ESP8266 wifi module.
The WiFi module is connected to internet and shares the data to Blynk platform. This data is displayed on real time basis.
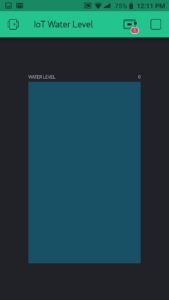
Over smart phone using Blynk app you can see the water level. With few modification you can get approximate liters of water available in the tank.
We are going to use ESP8266-01 WiFi module and Blynk IoT app for monitoring.
Parts List
- ESP8266-01 Module x 1
- Arduino Pro Mini x 1
- 5V SMPS power supply x 1
- Ultrasonic Sensor x 1
- Buzzer (Optional) x 1
- Resistor 330Ω x 1
- Transistor BC547 x 1
- 3.3V Regulator LD33V x 1
- 4 Core Long Cable
- LED x 5
- Box to mount entire project x 1
This project will allow you to monitor the water level of an overhead tank or underground sump. You can configure to auto start / stop the pump or motor based on water level.
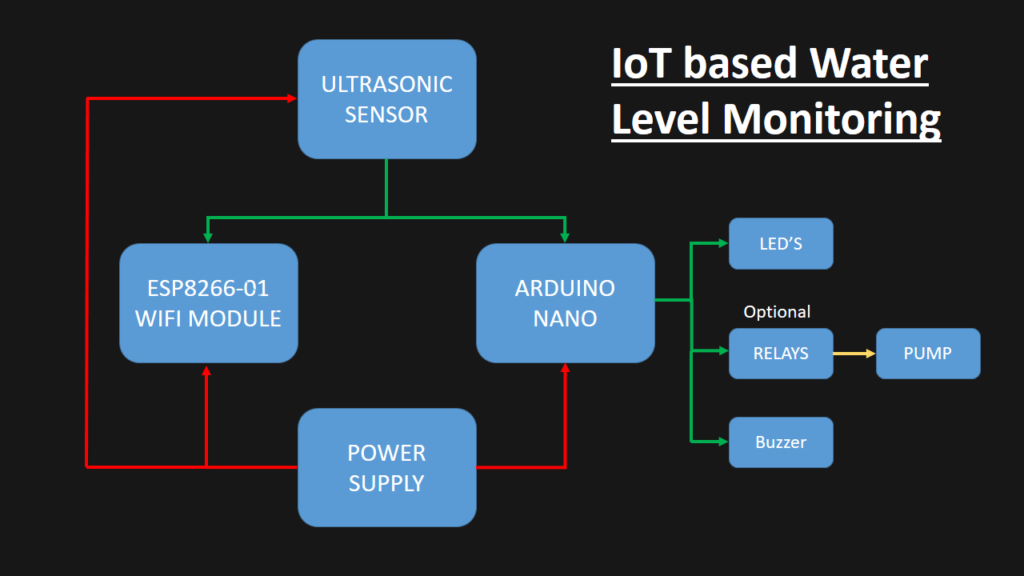
Sensors and Modules Functions
Arduino Pro mini
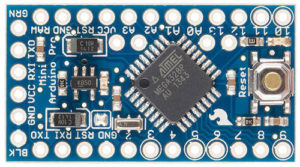
This module is used for getting the data and showing it with the help of LED’s. This also shows even if there is no internet connection. Arduino pro mini helps this project to work offline.
ESP8266 – 01
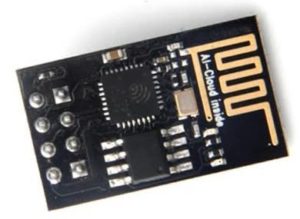
This wifi modules helps in collecting the water level and sent it to blynk app via internet. You can configure with other IoT platforms as well.
Ultrasonic sensor
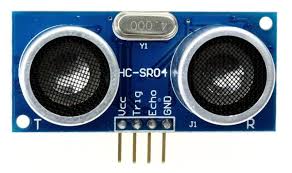
This module measures the height of the water level from the top of the tank and sends the data to both Arduino and ESP8266 for further processing.
Blynk Setup
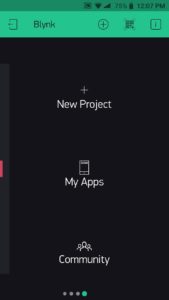
To setup using blynk you have to follow some simple steps
Tap on New Project
Enter Project name and select device as shown. Tap on Create
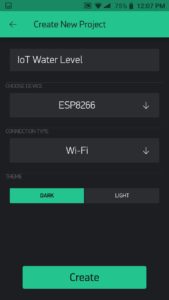
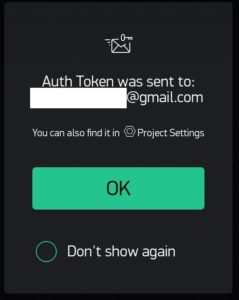
Once you Tap on Create you will get Auth Token on your Registered Email
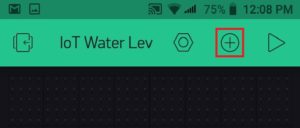
Tap on the Icon highlighted to add Widget
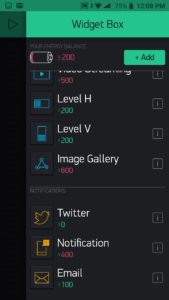
Scroll down and select “Level V” from widget Box
Configure with the below configurations
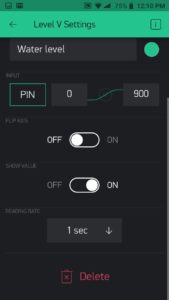
Tap on PIN and select Virtual and select V5
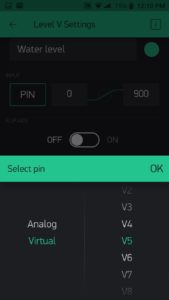
Finally your configuration is complete
Must Read:
- Smart Doorbell using ESP32 Camera
- How to read DHT11 sensor data using Blynk
- NodeMCU ESP8266 IoT based LPG Gas Leakage Alarm
- DS18B20 with NodeMCU Local WebServer
- IoT Project using Local Blynk Server
- Setting up a LDR Sensor with Arduino
- Wemos D1 Mini Web Server based Servo Motor Control
- ESP8266 Web Server for Controlling Electrical Devices
- Controlling ESP32 via Bluetooth using Blynk
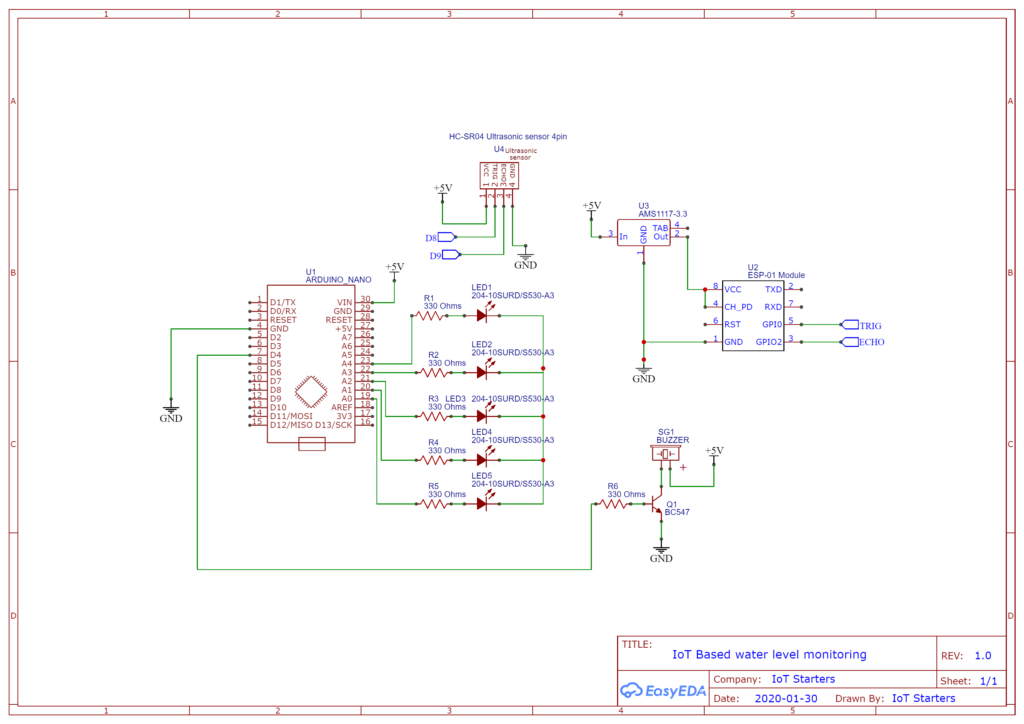
Circuit Diagram
You can build this is project in a normal PCB or you can create your custom PCB.
Codes
You can download the code from this LINK.
There are two codes in this project. As we are using Arduino and ESP8266, hence individual code has to be uploaded.
How to Upload code in ESP8266-01 | Using Arduino
Calculation of Water In Liters
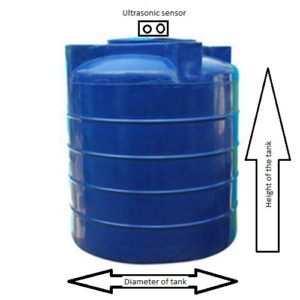
In this project we are taking a cylindrical water tank. The formula to calculate the volume of the tank is
Volume = π x r² x h
Where
π = 3.14
r = Radius of the tank (Base of tank) you can find the diameter and divide it by 2 to get the radius in cm.
h = Height of the tank in cm.
The value of “r” will be static once you get it. The value of “h” will depend on the water level and it will be dynamic.
Now if you get the value of “r” and “h” and apply to the formula then you will get the volume of water in the tank in cubic centimeters.
To calculate the amount of water in the tank in liters we have to use the below formula
Capacity = Volume/1000 liters
Now you can use capacity variable to display the data to LCD or OLED or any app easily.
Testing
Conclusion
This project will help you to understand the concepts of measurement using ultrasonic sensor along with interfacing it with blynk using ESP8266 and Arduino. This project is economical and can be used in real time.
Stay tuned for new projects. Save water, Save electricity, Avoid Plastics and Save environment.


while uploading program in esp8266 i am getting error li,e timedout soemthing waiting for packet header how can i rectify the error
Kindly check the connection while uploading the code in ESP-01. This module is voltage sensitive. Ensure the voltage is 3.3V only.
I looked at the circuit diagram but could not understand :(. 2 pins of the ultrasonic sensor are connected to pins 5 and 3 of the esp module, but to which pins of the arduino? pins 8 and 9?
Yes.
Hello, my project is working, but when turning on the system it does not communicate with Blynk and produces a strange noise in the sensor. after removing the GPIO0 and GPIO2 pins from the sensor and restarting the system there is communication with blynk. I reconnect the pins, it works normally, what will happen? Could it be a sensor fault?
Thank you very much.
Kindly check the connection again and the corresponding code.
Hi Iot starters .this is a wonderful project .I almost use it a one year for my home purpose. can you please shift this project to new Blynk 2.0 platform.