How to install Node-Red in Raspberry Pi
In this tutorial we will learn How to install Node-Red in Raspberry Pi ? Raspberry Pi OS comes with inbuilt Node-Red installed. Also other image doesn’t have this Node Red installed. If you are planning to start working on node-red then it is important to install it on your Raspberry Pi.
There are few steps to install node red on Raspberry Pi. If you are using the latest version of Raspberry Pi operating system where node red is not installed then follow the process below.
Node-Red is an open-source project for creating networked applications using a programming language called Node.js. Node-Red is a tool for managing your data, making your devices talk to each other and creating beautiful user interfaces.
Make sure below steps are already done when you are proceeding further.
- Download and install the Raspbian Operating System onto your Raspberry Pi.
- Once your Raspbian Operating System is installed, connect your Raspberry Pi to your network.
Update and Upgrade
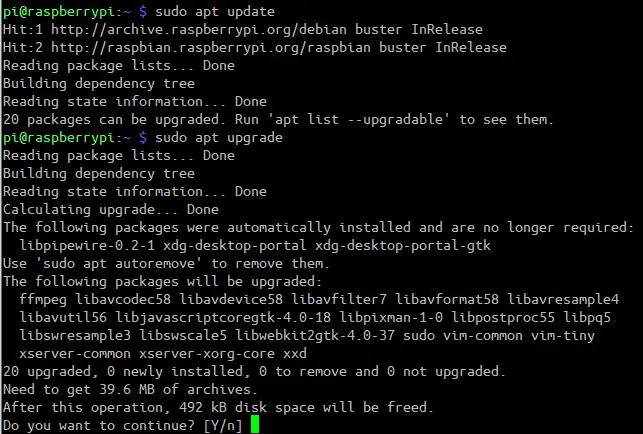
It is always advisable to ensure that you are running the latest packages in your Raspberry Pi OS to avoid errors. Execute the command below on your Raspberry Pi to update and then upgrade to the latest packages available. The upgrade process may take sometime to finish depending on your internet speed.
sudo apt update
sudo apt upgrade
Install Nodejs
The first requirement is to install Nodejs to proceed further with the installation of Node Red. Now we have to enable the NodeSource repository. For enabling it we have to launch the Terminal and execute the command below. We are connecting to the Raspberry Pi over SSH, you can login to Raspberry pi and execute the same command there as well.
sudo su

curl -fsSL https://deb.nodesource.com/setup_17.x | bash –
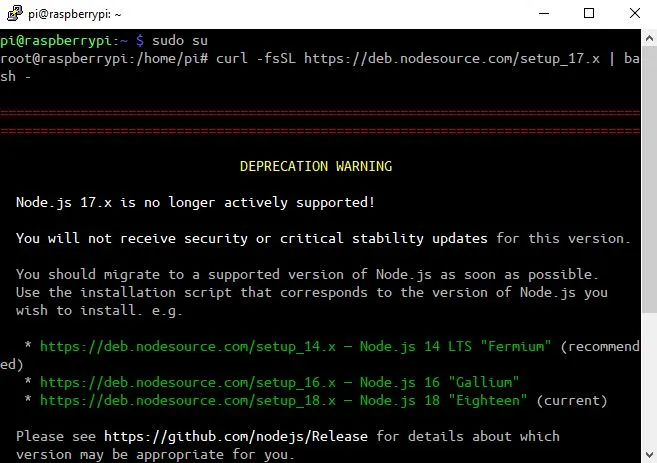
After excuting the above command run the command below to install NodeJS on your system. Here we are installing Nodejs version 17.
sudo apt install nodejs
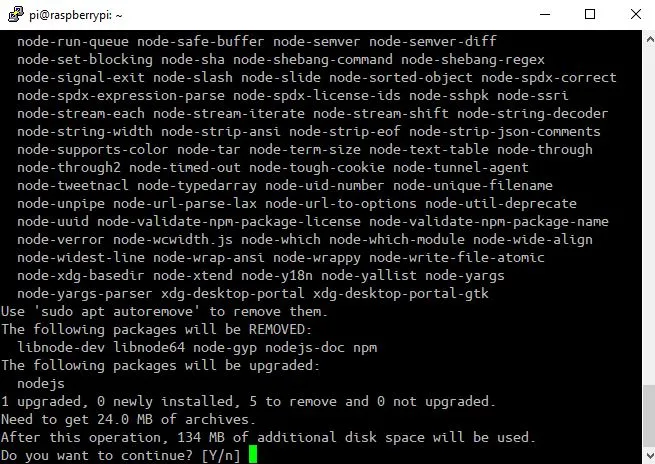
Once the installation is completed we can verify the installation of NodeJS and NPM installation by running the command below.
node --version
npm --version

Installing Node-Red on Raspberry Pi
To install the Node-Red on Raspberry Pi, Open Terminal and execute the below command.
bash <(curl -sL https://raw.githubusercontent.com/node-red/linux-installers/master/deb/update-nodejs-and-nodered)
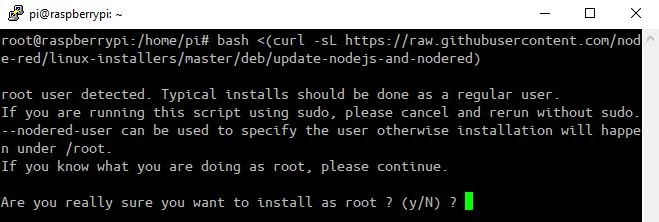
Node-RED is installed by default on Raspberry Pi OS (32 bit). However, it is recommended to run the previous command to install the required package and update it to the latest version. Node-RED is not installed by default on Raspberry Pi OS (64-bit) and in 32-bit (Raspberry Pi OS with desktop).
Once you execute the command, you’ll get a message where you have to press Y and Enter to accept.
Then, you will get another question and again you have to press Y and Enter
“Would you like to install Pi-specific nodes?”
After confirmation the Node-Red installation will start installing and will take time depending upon the Raspberry Pi configuration.
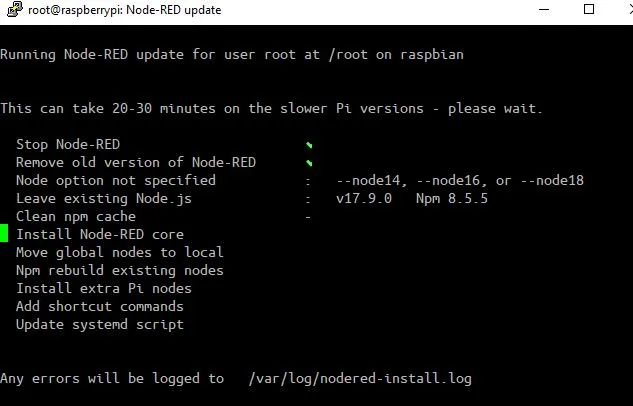
Commands for Node-RED
Run the following command to start Node-RED:
node-red-start
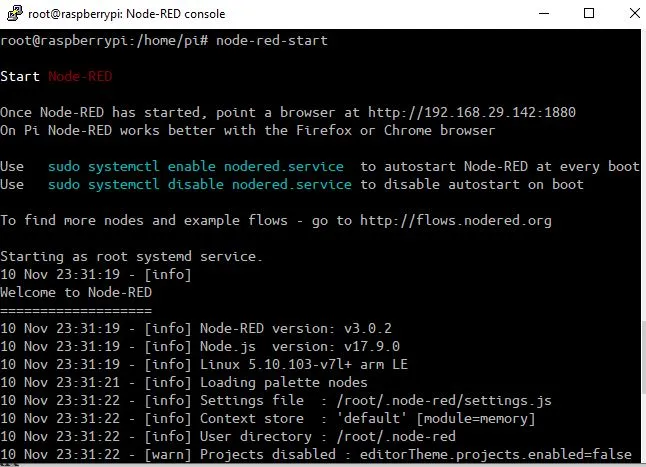
You can access Node-Red portal using google chrome of your computer which should ne connected to the smae network as Raspberry Pi is connected. Use below format to open the Node-Red dashboard.
http://your_Raspberrypi_ip:1880/

Node-red can be used to control devices and systems from a central location. One of the great things about Node-red is that it can be used to control devices and systems from a central location. This makes it a great tool for automating tasks and monitoring data.
For example, you can use Node-red to control your home security system. You can set up Node-red to send alerts when there is a break-in or when the security system is triggered. You can also use Node-red to control your thermostat or lights. This tutorial has given you a step-by-step process on installing Node-Red on your Raspberry Pi.
Some Interesting Projects:
- IoT Smart Plant Watering System Project
- Monitoring Weather Data using BMP280 and Blynk 2.0
- Web Server Pulse Oximeter using NodeMCU ESP8266
- Getting Started with Arduino IoT cloud using NodeMCU and DHT11
- Weather Station with Raspberry Pi PICO and DHT11
- Controlling a servo motor using Raspberry Pi Pico
- Configuring BMP280 Sensor with Raspberry Pi
- Weather Station with BMP280 Sensor and Raspberry Pi Pico
- IoT Pulse Oximeter Using NodeMCU MAX30100 & Blynk
- DIY Digital clock with RTC DS1307 and Raspberry Pi PICO
- IoT Security Camera using ESP32-Cam Blynk and PIR Sensor
- ESP8266 based IoT Panic Alarm for Old Age People using Blynk
- How to send sensor data to Thingspeak using Raspberry Pi
- ESP32-CAM based Email Notification System
- ESP32 based Gas Leakage Detection using Email Notification
- IoT based Motion Detection Alarm using ESP8266 and Blynk
- IoT based Fire Security Alarm System using NodeMCU
- NTP Digital Clock using ESP8266 and OLED Display
- DHT11 Sensor with ESP-NOW and ESP32
- DHT11 based Temperature Humidity Monitoring IoT Project
