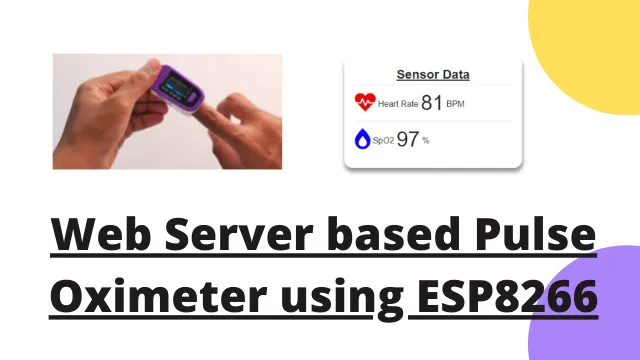
Web Server Pulse Oximeter using NodeMCU ESP8266
You might have used a pule oximeter at home which is readily available in the market. In this tutorial we will learn to build a Web Server Pulse Oximeter using Nodemcu ESP8266 using MAX 30100 pulse sensor. It is easy to build and can be used to understand how it works.
We will monitor Heart Rate and oxygen saturation (Sp02) level using MAX30100 sensor. This sensor is connected with ESP8266 NodeMCU which will act as a Web Server. You can access these webpage from any device which has WiFi support and a browser installed on it.
Materials Required
- MAX30100 Pulse Sensor
- NodeMCU Dev Board
- Jumper Cables
- A computer
Working of MAX30100 Pulse Oximeter Sensor
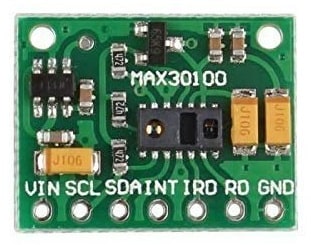
MAX30100 sensor module has one red led and the other is infrared led. The combination of both the lights helps to measure the Sp02 levels in the blood.
The oxygen level in the blood increases when the heart pumps the blood. During the rest the level of oxygen is decrease in oxygenated blood. The pulse rate is calculated by the time difference between the rise and fall of oxygen based blood.
How it works?
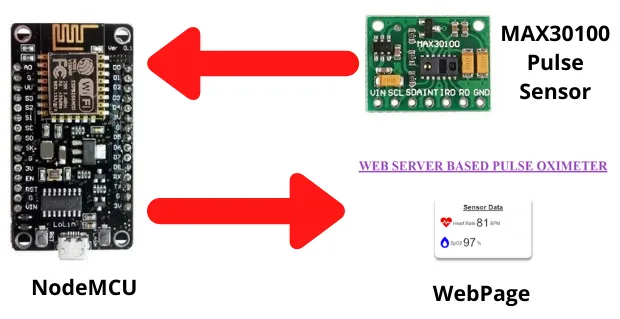
MAX30100 sensor gets the data and transmits it to nodemcu board. The nodemcu acts as a web server here and displays the data through a particular IP address using a web page.
Connection
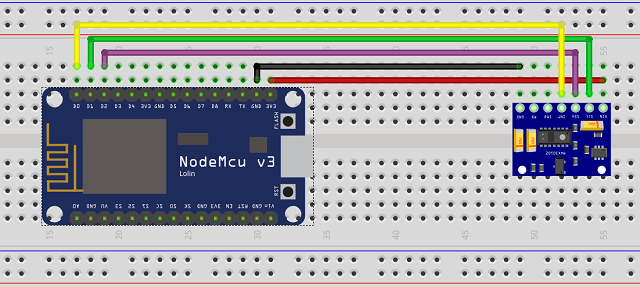
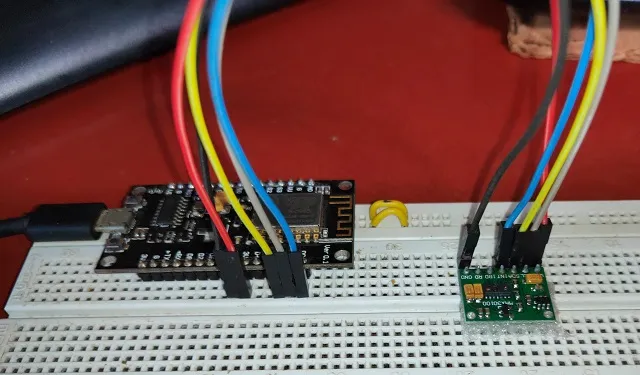
Below is the connection between MAX30100 and NodeMCU. You can connect it using breadboard or make your own PCB.
MAX30100 Sensor Pins | NodeMCU Pins |
SCL | D1 |
SDA | D2 |
INT | D0 |
VCC | 3V |
GND | GND |
Breadboard connections
Installing Required Libraries
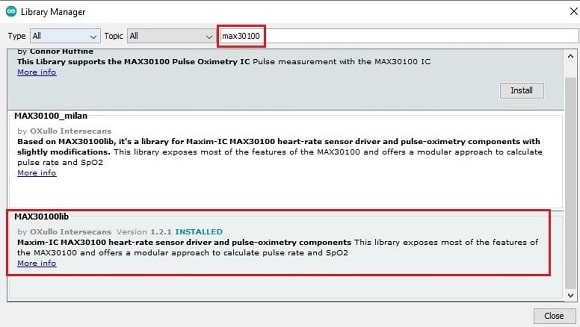
You have to open Library manager in Arduino IDE and search for max30100. Install the MAX30100lib by OXullo Intersecans as shown below.
Code
You can download the code from below link and open it using Arduino IDE. Compile and upload it using a laptop. We have a nice guide to upload the code.
Easy NodeMCU Programming with Simple Steps
Building & Testing
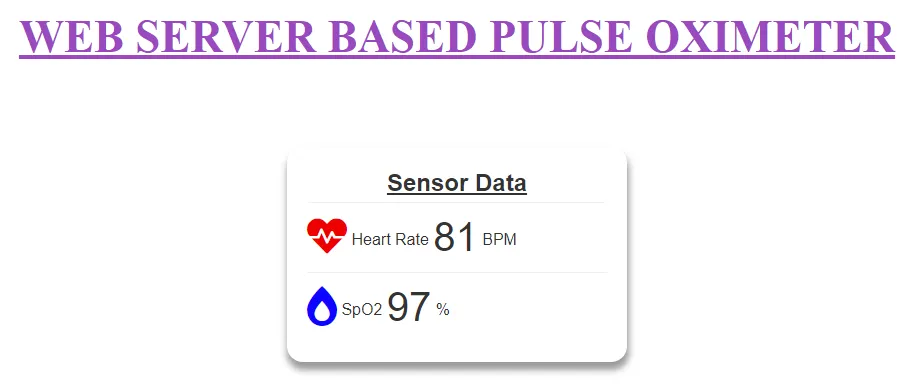
After connecting as per the connection and uploading the code, its time to power on the project. The sensor data can be accessed using a smartphone and a web browsers. The BPM and Sp02 values can be seen from any smartphone or PC connected to the same Wi-Fi network. MAX30100 sensor data is updated every second by sending a GET request on the server and update the data on a webpage.
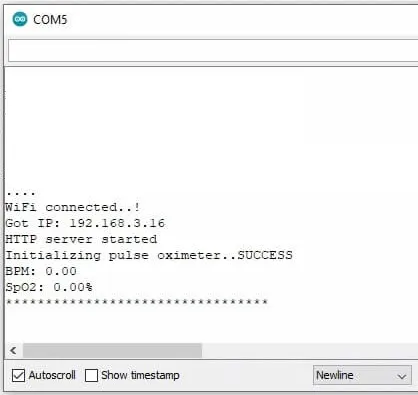
After powering on the you will get the below details on your serial monitor.
Once you open the IP address you will see the below webpage.
Some more Interesting project:
- Getting Started with Arduino IoT cloud using NodeMCU and DHT11
- Weather Station with Raspberry Pi PICO and DHT11
- Controlling a servo motor using Raspberry Pi Pico
- Configuring BMP280 Sensor with Raspberry Pi
- Weather Station with BMP280 Sensor and Raspberry Pi Pico
- IoT Pulse Oximeter Using NodeMCU MAX30100 & Blynk
- DIY Digital clock with RTC DS1307 and Raspberry Pi PICO
- IoT Security Camera using ESP32-Cam Blynk and PIR Sensor
- ESP8266 based IoT Panic Alarm for Old Age People using Blynk
- How to send sensor data to Thingspeak using Raspberry Pi
- ESP32-CAM based Email Notification System
- ESP32 based Gas Leakage Detection using Email Notification
- IoT based Motion Detection Alarm using ESP8266 and Blynk
- IoT based Fire Security Alarm System using NodeMCU
- NTP Digital Clock using ESP8266 and OLED Display
- DHT11 Sensor with ESP-NOW and ESP32
Summary
We have build a Web Server Pulse Oximeter using Nodemcu ESP8266 using MAX30100 pulse oximeter sensor. This is easy to build and shows the output in a webpage which can be access by multiple devices in the same time within the network. Beginners can try this project and comment their views.
