IoT Smart Switch with Firebase and custom app
An IoT (Internet of Things) smart switch is a device that can be controlled over the internet to turn on or off an electrical device or appliance. It can be controlled through a smartphone app, a web interface, or even through voice commands if it is integrated with a virtual assistant like Google Assistant or Amazon Alexa. In this tutorial we will learn to build an IoT Smart Switch with Firebase and custom app for Android mobile phones.
One way to implement an IoT smart switch is to use a platform like Firebase to store and sync data in real-time. Firebase is a cloud-based real-time database service that can be used to store and sync data for web, mobile, and IoT applications. It can be easily integrated with IoT devices to enable real-time communication between the device and the server.
Material Required
- ESP8266-01
- 2 Channel Relay Module
- LD33V Voltage Regulator
- Jumper cables
- Breadboard
Working
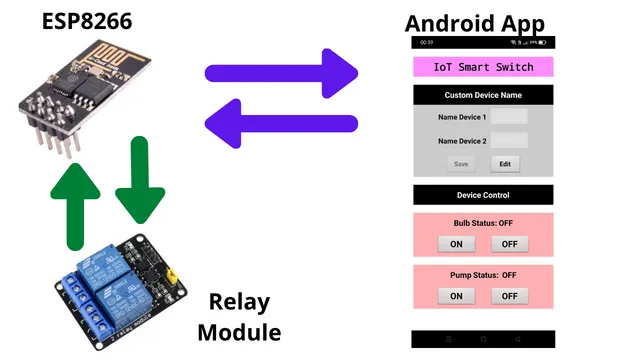
The ESP8266 will connect with local wifi and further connect with firebase to read the data. Based on the app status, the ESP8266 will switch on and off the devices connected with the relay module. Also the app will show you the real-time switching status of your devices.
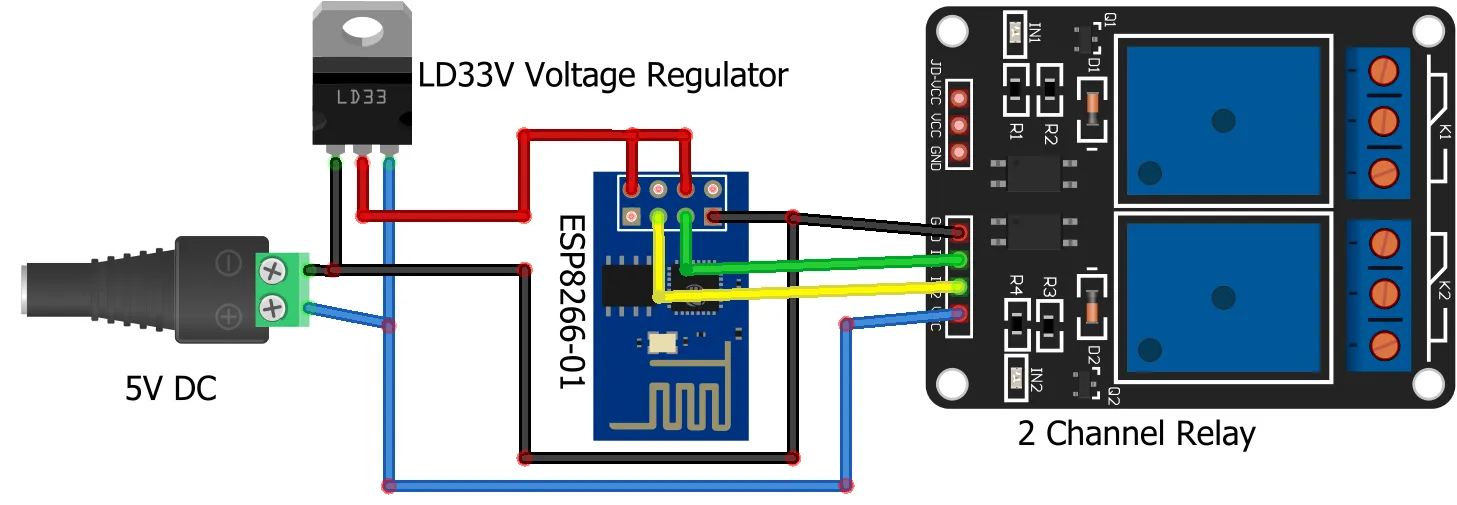
Connection Diagram
Here we are using a LD33V as it is a voltage regulator. The ESP8266 works with 3.3V only. Further the GPIO pins are connected with 2 channel relay module. We are using GPIO 0 and GPIO 2 from ESP8266 to control the relay’s.
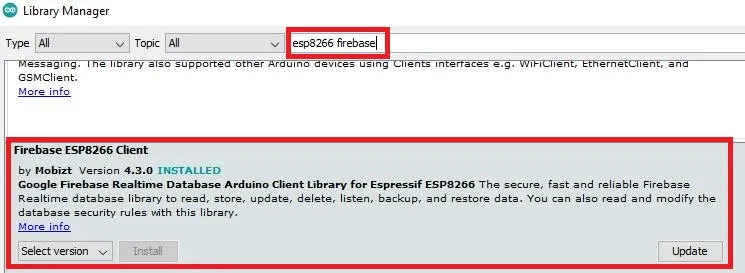
Arduino Library
We need to add the below library in Arduino development environment. This is done by selecting Sketch > Include Library > Manage Libraries from the top menu. Type in esp8266 firebase and install the below library.
Building Firebase Realtime Database
First login to Firebase and create an account if you are logging in for first time. Enter a name for your project.
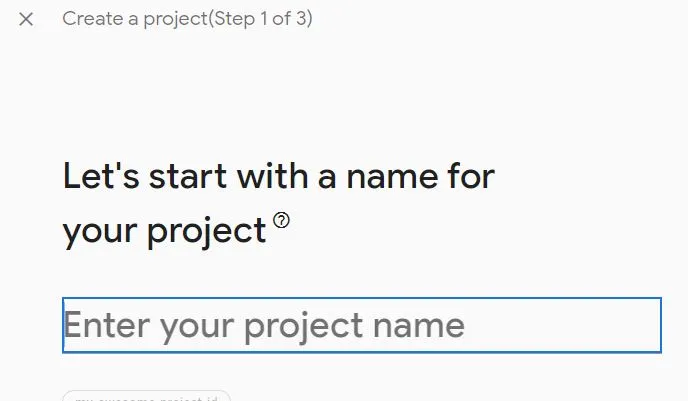
As per your requirement you can enable google analytics or disable it and click on Continue. This is optional and doesn’t make any impact if you don’t enable it.
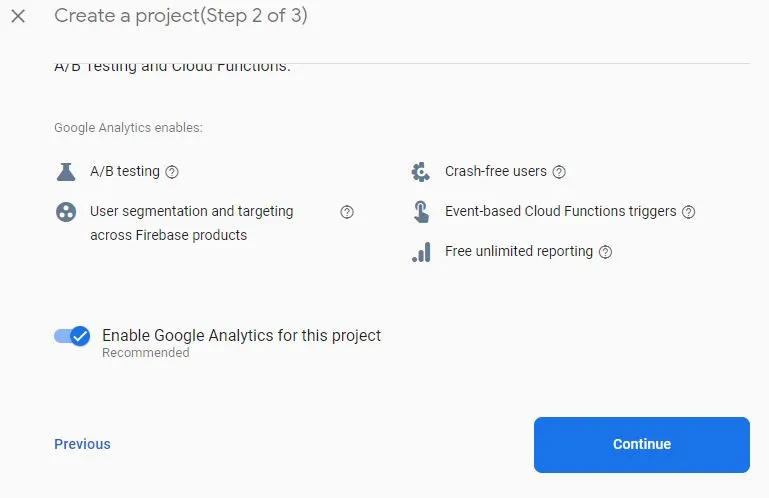
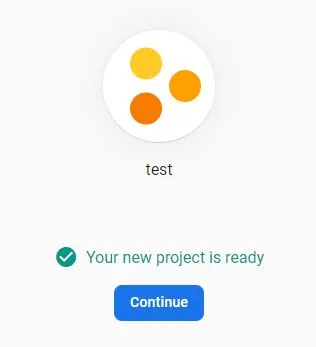
Now your project will be created in sometime. Then click on Continue.
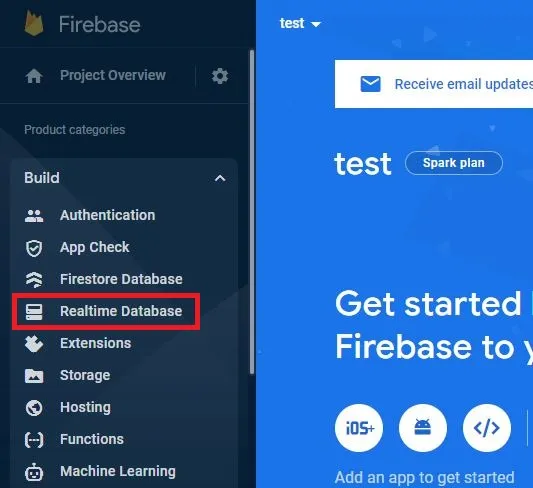
Now click on Realtime Database to create it.
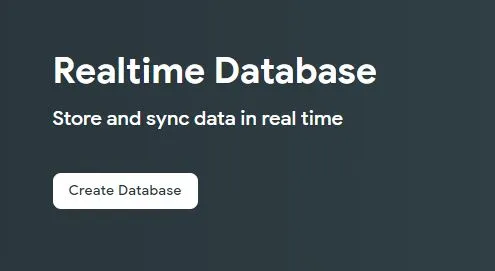
Click on Create Database to build it.
Let the default location be there for your Realtime DB and click on Next.
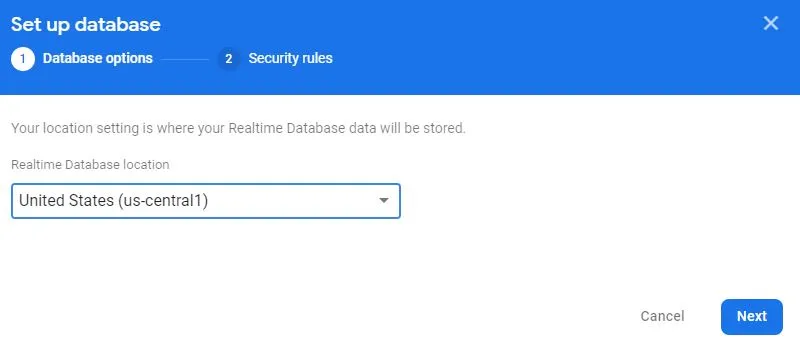
By default the locked mode will be selected. click on enable.
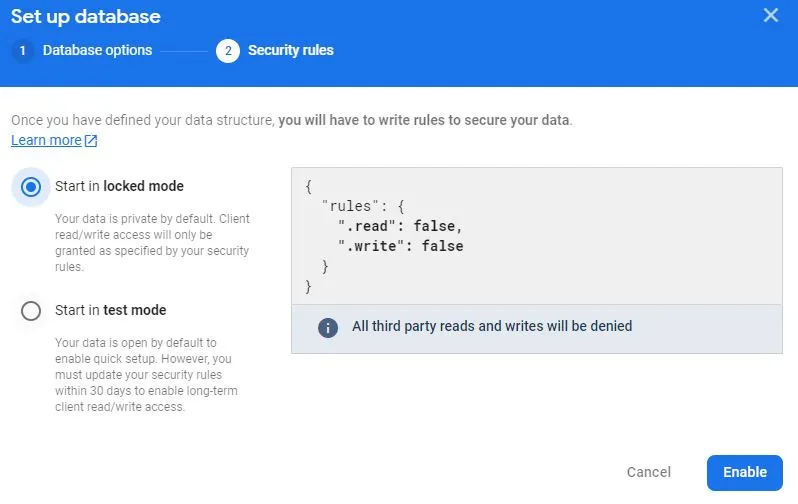
After enabling, click on Rules and edit rules. Make the read and write as true. Also click on Publish to save changes.
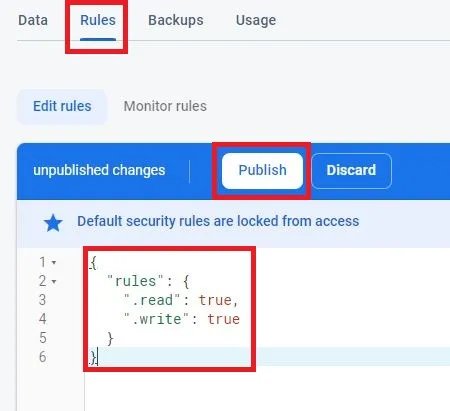
Click on Data to get the the URL of your Realtime database. Copy this and keep it in a notepad. We need this in our Arduino code.
Go to Project settings and collect the required information.

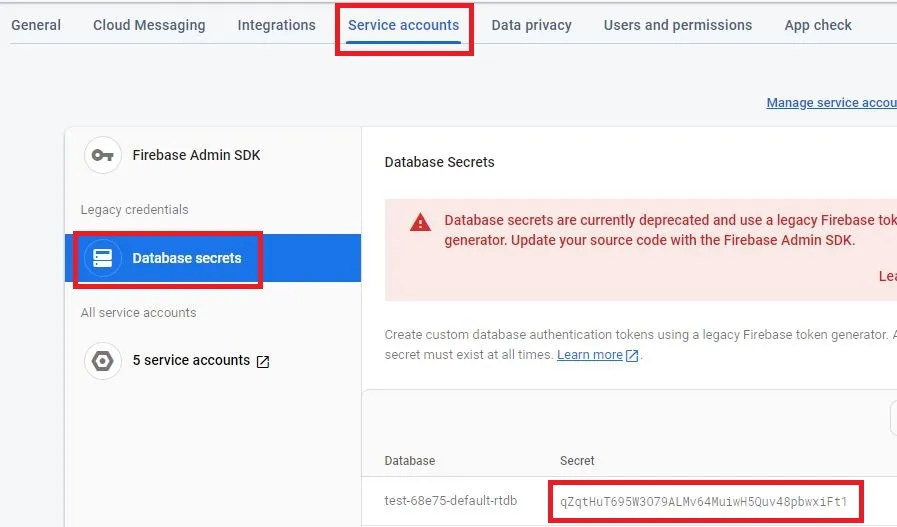
Click on Service accounts and click on Database secrets to get the secret key to connect with your database. Copy and paste it in notepad as we need it in our Arduino code.
Code
You can download the Arduino code from link below and open it using Arduino IDE. Please update the below changes and then upload the code in ESP8266-01.
Please update the firebase URL, firebase secret key, your wifi ssid along with wifi password to connect with firebase Realtime Database and internet.

Building Android App
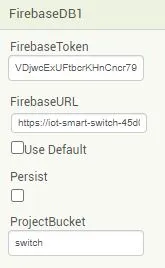
Here we have shared the aia file. You can download and import it in MIT App Inventor. Before you create an apk file you have to make changes in the firebase DB as shown below.
Update the Firebase DB secret key in firebase token. Also ass the firebase URL which you have coped earlier along with the project bucket.
Building and Testing
We have created a custom PCB some time back and using the same. You can connect the components as shown in the connection diagram above.
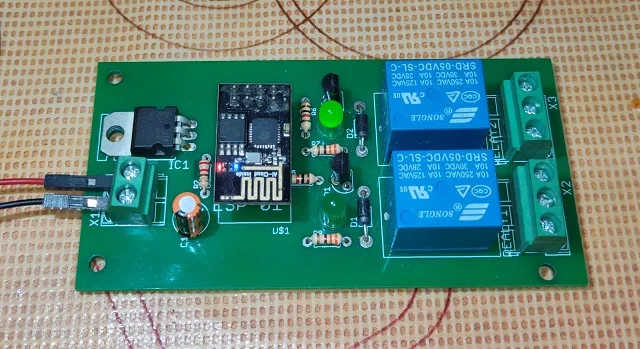
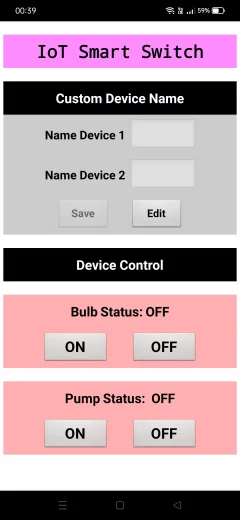
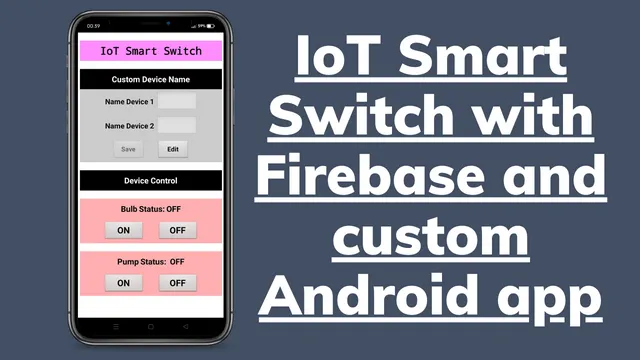
Once we power on the hardware it will connect with firebase real-time database and check for the data. You can also provide custom device names and save them. You can edit the names whenever you want.
Summary
We learnt to build an IoT smart switch that uses Firebase and a custom Android app. It also involve creating a switch device that can connect to the Internet and communicate with a Firebase database. The custom Android app would allow a user to control the switch remotely and receive updates on its status from the Firebase database. The switch device connected to ESP8266-01 to handle the Internet connectivity and communication with the Firebase database. Hope you like this project and don’t forget to share it with others.
More Interesting Projects:
- IoT Door Security with custom Android App using Firebase
- Raspberry Pi Pico with LCD & SSD1306 OLED Display
- Raspberry Pi Pico W web server with BMP180 sensor
- Controlling Devices with Raspberry Pi using Python
- IoT LPG Gas Detection with Blynk 2.0
- Building Node-RED Dashboard with DHT11 Sensor
- IoT Smart Plant Watering System Project
- Monitoring Weather Data using BMP280 and Blynk 2.0
- Getting Started with Arduino IoT cloud using NodeMCU and DHT11
- Weather Station with Raspberry Pi PICO and DHT11
- Controlling a servo motor using Raspberry Pi Pico
- Configuring BMP280 Sensor with Raspberry Pi

Hello,
Tons of thanks for sharing such valuable tutorial that too with source code, really helpful.
Thank You!