Raspberry Pi Pico vs Arduino Which one to choose?
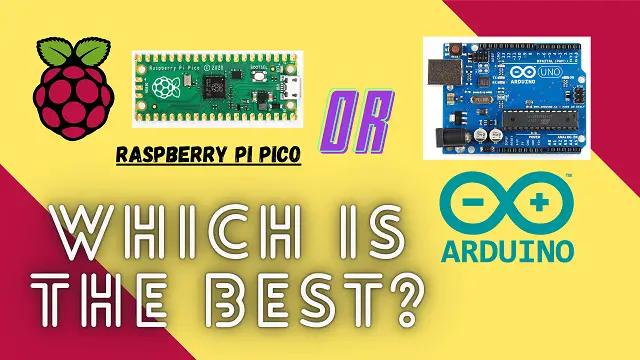
Before the Raspberry Pi Pico arrived, there was a clear distinction between the Raspberry Pi and Arduino ecosystems. The Pi is a board that needs a full operating system and the Arduino is a microcontroller that only runs one program at a time. This guide will help you to identify the features between Raspberry Pi Pico vs Arduino Which one to choose?
With the advent of the Raspberry Pi Pico, which is itself a microcontroller and the new SoC RP2040, the distinction has been blurred. The Raspberry Pi Foundation now makes its own silicon and allows partners to use ‘Pi Silicon’ on their boards, including the Arduino, which is working on its own RP2040-based board with Wi-Fi and Bluetooth.
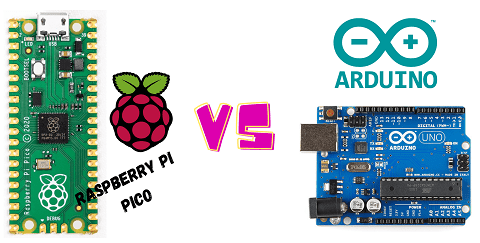
Both Arduino and Raspberry Pi Pico are great for physical computing projects where the main goal is to reliably activate lights, motors, and sensors, without all the overhead of running a full operating system.
You can even use either one in combination with a regular Raspberry Pi and use one for higher-level tasks like AI and the other for interacting with electronic components.
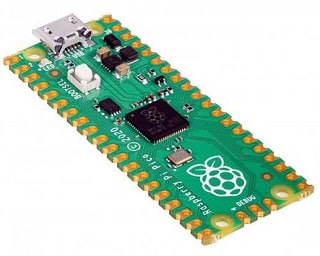
The first Arduino board was made in 2005 and since then millions of units have been sold and a huge ecosystem has emerged. Meanwhile, Raspberry Pi Pico has been released recently, but we’re already seeing a ton of support for it. So which one is better and which one should you use in your next project? To help you decide, we will compare the two platforms based on functionality, value, power consumption.
Build
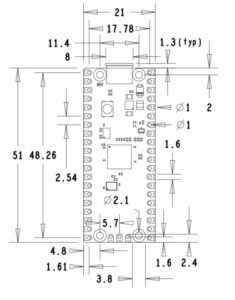

The Raspberry Pi Pico GPIO offers a wealth of digital I / O, three analog inputs, and multiple I2C, SPI, and UART connections. But what the Pico also offers is a series of programmable IO pins (PIO) that can be configured to simulate other interfaces / protocols such as WS2812 “Neo Pixels”.
They can also be used to download complex tasks to a background process. All of this from an inexpensive board, which means that the Raspberry Pi Pico is a low-cost development board with lots of GPIO pins.
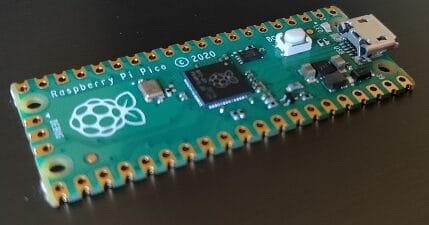
SOC (System On Chip)
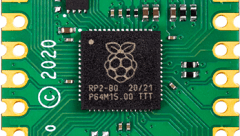
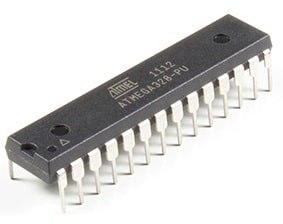
Older and more popular Arduino boards run on Atmel chips like ATMega328P, but backplates now feature Arm CPUs. For example, the Arduino Portenta H7 has a dual-core Arm Cortex M7 + M4 CPU. While the ATMega328 will never compete with an Arm processor, it is a reliable chip for projects, proven by the myriad of Arduino projects on offer.
IDE’s
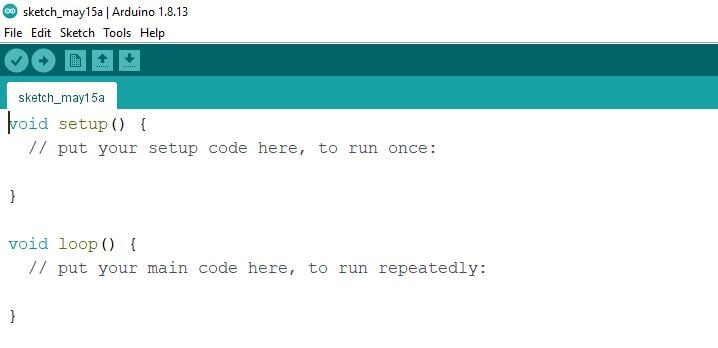
The Arduino IDE has improved over the years and we now see built-in features like multi-board management and a means to find and install package libraries for plugins and accessories.
The cloud version of the Arduino IDE is known as Arduino Create. It is designed for IoT projects, but can still be used to play with even the most basic Arduino code.
PlatformIO comes in three versions, a command line tool, a dedicated IDE and it can integrate with your existing IDE, for example Microsoft’s Visual Studio Code.
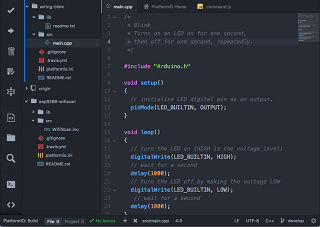
If you want to write C code on your Raspberry Pi Pico, you have two main options. Write the code in an editor and then compile the code using terminal tools or configure Microsoft’s Visual Studio Code and use a number of extensions to create a workflow for compiling and updating code in Pico.
Both approaches are possible, but they are not the easiest to use. However, help will soon be available via an update to the Arduino IDE with support for the RP2040 chip.
If Python is your preferred language, then you’re in luck, as the Raspberry Pi Pico supports MicroPython, a version of Python 3 for microcontrollers. At release, MicroPython can be written in two ways, directly in Python Shell, known as REPL (Read, Eval, Print, Loop) or we can use an IDE like Thonny that has built-in support from version 3.3.0 onwards.
The easiest way is through MicroPython: we can quickly write and implement our code from the fantastic Thonny editor and we are using a standard language that is very popular and used on a wide variety of platforms. We have a nice article on how to code Raspberry Pi Pico using Thonny IDE.
User Friendly
Other Raspberry Pi boards are computers. Once we have our operating system on the SD card, we use it in the same way as any computer. But with the Raspberry Pi Pico there has been a change in workflow.
Regardless of our choice of language, we must display the Pico with an image for that language. This allows us to write and save code directly on the board. This point can really help you see Raspberry Pi Pico vs Arduino Which one to choose?
The format of choice for images is UF2, a Microsoft USB flash format that has been championed by Adafruit for its range of CircuitPython boards. We just need to press the BOOTSEL button while we plug in the micro USB cable, put the UF2 file on the RPI-R2 drive, and within seconds we can start writing code.
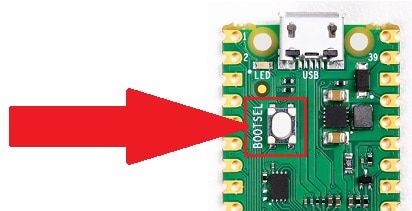
The easiest way to write and run the code in Raspberry Pi Pico by using MicroPython. Once we have the MicroPython UF2 file on the Pico, we can simply connect using Thonny and start writing code.
The C / C ++ workflow is a bit more advanced and something that would put off beginners, as a mastery is required to create a final product. From a terminal, we need to write the project code in a text editor, then after downloading additional applications and dependencies, we can “build” the project in a UF2 file that is later manually copied to the Pico.
A slightly more automated process is through Microsoft’s Visual Studio Code, in which we can write the project code and build it with a few clicks. That’s not the easiest process to use for newbies, but this is going to change thanks to Arduino. Finally, Arduino IDE supports Raspberry Pi Pico and other RP2040 based boards.
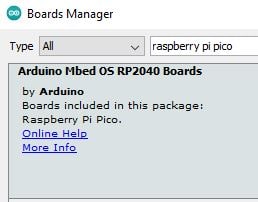
The Arduino IDE workflow has been influenced by years of improvements and feedback, the entire process occurs in the application with very limited user interaction. Advanced users can change the board, ports, and libraries used in a project, features that have been greatly improved in the latest versions of the Arduino IDE.
Arduino Create IoT Cloud is a means of creating applications based on the Arduino ecosystem and it works exceptionally well, but you will need to invest a little time to learn the process.
Are the Pico and Arduino boards easy to use? The biggest difference is that the Raspberry Pi Pico comes unsoldered. This isn’t a big deal, as it’s easy to solder your own pins, as long as you have a soldering iron.
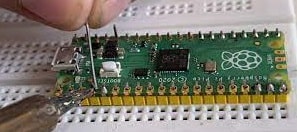
Normally, Arduino boards come pre-soldered, with the exception of DIP-based boards like the Arduino Nano Every and Nano 33 IoT. With pre-soldered Arduinos we can start working directly from the first moment.
Suggested Reading
- Pico Cheapest MicroPython Board
- Connecting to Raspberry Pi via Putty
- Raspberry Pi Flask Web Server with DHT11
- Important Tips to Improve Security of your Raspberry Pi
- Raspberry Pi Temperature Logger DS18B20
- Setting up a LDR Sensor with Arduino
- Raspberry Pi PICO with Thonny IDE
- Interfacing Ultrasonic Sensor HC SR04 with Arduino Uno
- ESP32 based Gas Leakage Detection using Email Notification
- IoT based Motion Detection Alarm using ESP8266 and Blynk
- Smart Switch using Blynk | IoT Based WiFi Switch
- IoT based water level Indicator using ESP8266
- Controlling ESP32 via Bluetooth using Blynk
Power Consumption
The Raspberry Pi Pico is a goo choice for embedded projects. Compared to a typical Raspberry Pi, the Pico draws much less current, because it is a microcontroller without any of the overhead that a computer brings.
A Raspberry Pi Pico with 12 Neopixel LEDs, white, at full brightness connected to a 5.21V power supply can consume 600 mA, so 3.1 W for the Neopixels and to power the board. This is lower than a Raspberry Pi 4, which when idle with nothing connected would run at 4-5W. So compared to Raspberry Pi the Pico consumes power, but how does it compare to an Arduino Uno running the same test?
Using the same 5.21V source, we clocked 5.18V at 290mA, 1.5W for Arduino Uno and Neopixels. So the Arduino Uno consumes the least amount of power, but that was to be expected given it has the slowest processor. If we were to repeat the test with another board, say the Portenta H7, we would see much higher power usage, as the Arm CPU used in the Portenta is more powerful even than the RP2040 .
Final Verdict
Each of those cloned boards has its own architecture that we need to fix. Right now, MicroPython is the best option to get started quickly with your Pico. Since Arduino IDE is updated to support the Pico, this will greatly improve the C / C ++ workflow to a point where even Arduino fans may be tempted to give a try Raspberry Pi Pico and change their minds about which one is their favorite. I hope we are able to provide you will all best and important info about Raspberry Pi Pico vs Arduino Which one to choose?
Very helpful and brief overview. I take from this that a good platform for IoT development would be Pico (or Arduino 2040?) using MicroPython via Thony. I have written C programs years ago (for optical character recognition) and found it slow (50 debugged lines per day) and bug prone.
I see that Arduino can be coded to include web server and web client functions, and wonder if that translates easily to Pico.
Thanks!