How to read DHT11 sensor data using Blynk and ESP8266 -01
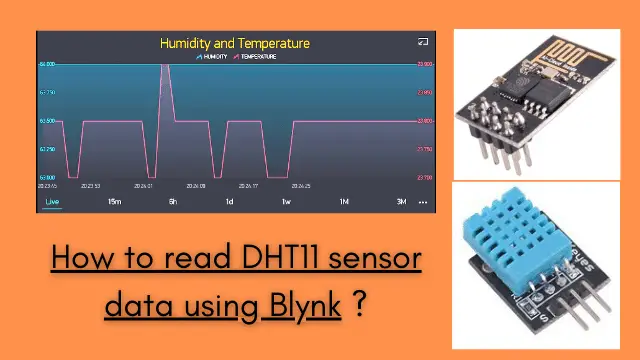
You might have come across many temperature sensors. In this article we will be using one of them and connect it with an app to get the real-time data. How to read DHT11 sensor data using Blynk app is a project for beginners. This is a basic project to start with IoT related projects.
In this project we will be using a DHT11 temperature and humidity sensor. Along with the sensor we will be using ESP8266-01 WIFI module. Let’s quickly see the what are the other components required.
Components Required
- ESP8266-01 WIFI Module (BEST BUY) x 1
- DHT11 Sensor (BEST BUY) x 1
- LD33VVoltage regulator 3.3V x 1
- Breadboard x 1
- Jumper Cable
- Mobile Charger for power Supply (5v/1A) x 1
How it works?
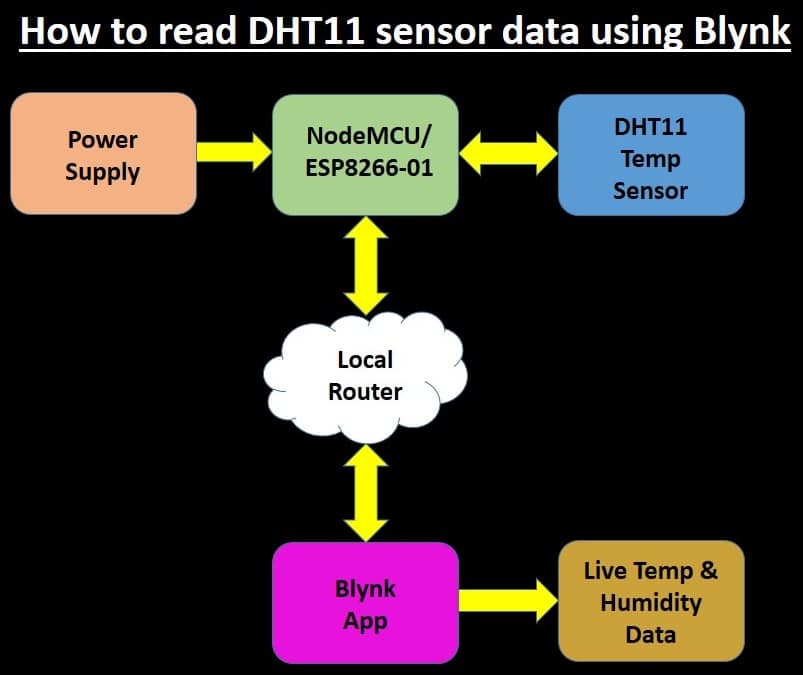
DHT11 sensor collects the data (temperature and humidity). ESP8266-01 forwards the data over internet to Blynk platform. Blynk will display live data on your smartphone.

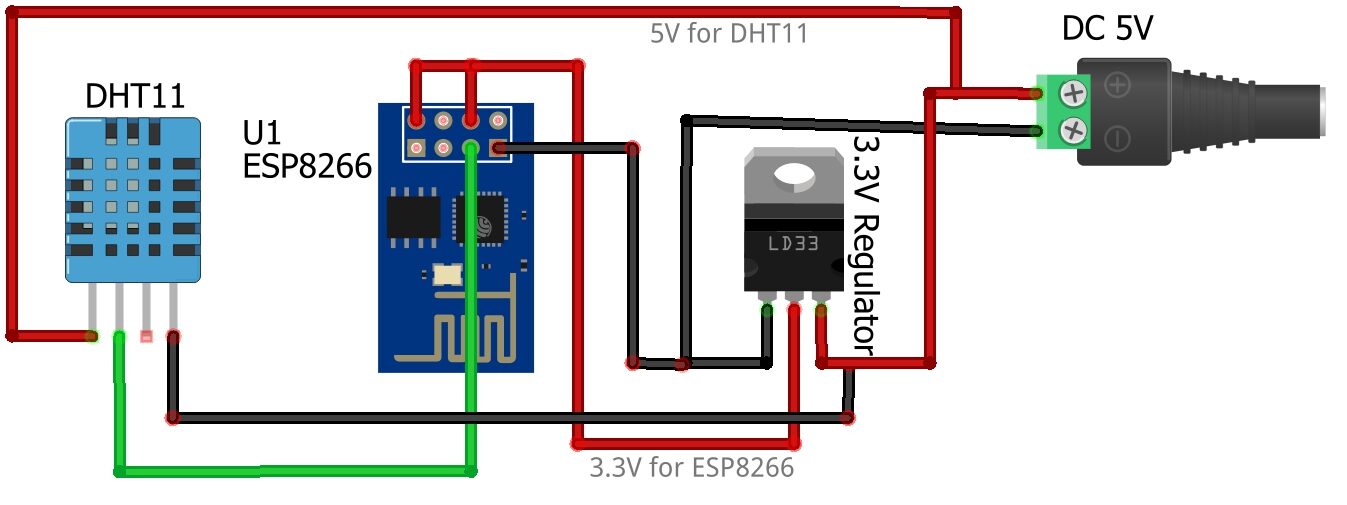
Circuit Diagram
Using above components we have to connect it as shown below. You can assemble these components on a breadboard as well.

Setting up Blynk Project
Lets setup a project in Blynk app
Tap on new project and Provide a name for the project. Choose device as ESP8266 and tap on create.

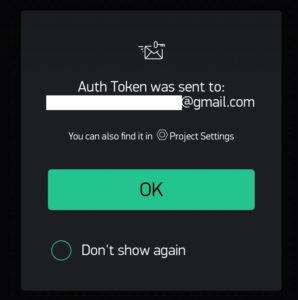
Blynk will send you an email to registered email address containing Auth Token

Then tap on the highlighted icon

Select two Gauge from the widget list

Select Virtual pin as V5 for humidity

Configure the remaining parameters as shown below.

Update the details as shown below

We will configure another gauge for Temperature

Repeat the same for another Gauge

Now tap on the highlighted play button to activate

Must Read:
- Low Cost Local Blynk Server for IoT Projects
- Interfacing LM35 Temp Sensor with Arduino
- IoT Project using Local Blynk Server
- DHT11 based Temperature Humidity Monitoring IoT Project
Code
Here we are using an example code which works absolutely fine. You can get the code from here or you can directly copy the code from below and paste it in Arduino. Once you compile and your code is ready then upload you code.
How to upload code in ESP8266-01
/* Comment this out to disable prints and save space */
#define BLYNK_PRINT Serial
#include <ESP8266WiFi.h>
#include <BlynkSimpleEsp8266.h>
#include <DHT.h>

// You should get Auth Token in the Blynk App.
// Go to the Project Settings (nut icon).
char auth[] = "AuthToken";

// Your WiFi credentials.
// Set password to "" for open networks.
char ssid[] = "WIFI_NAME";
char pass[] = "WIFI_Password";

#define DHTPIN 2 //Connected to GPIO2 of ESP8266-01

// Uncomment whatever type you're using!
#define DHTTYPE DHT11 // DHT 11
//#define DHTTYPE DHT22 // DHT 22, AM2302, AM2321
//#define DHTTYPE DHT21 // DHT 21, AM2301

DHT dht(DHTPIN, DHTTYPE);
BlynkTimer timer;

// This function sends Arduino's up time every second to Virtual Pin (5).
// In the app, Widget's reading frequency should be set to PUSH. This means
// that you define how often to send data to Blynk App.
void sendSensor()
{
float h = dht.readHumidity();
float t = dht.readTemperature(); // or dht.readTemperature(true) for Fahrenheit

if (isnan(h) || isnan(t)) {
Serial.println("Failed to read from DHT sensor!");
return;
}
// You can send any value at any time.
// Please don't send more that 10 values per second.
Blynk.virtualWrite(V5, h);
Blynk.virtualWrite(V6, t);
}

void setup()
{
// Debug console
Serial.begin(9600);
Blynk.begin(auth, ssid, pass);
dht.begin();

// Setup a function to be called every second
timer.setInterval(1000L, sendSensor);
}

void loop()
{
Blynk.run();
timer.run();
}
Construction & Testing
Now we have assembled all the components and powered it using 5v/1A mobile charger. Although ESP8266-01 is sensitive towards power supply. Make sure the power supply is stable and can provide at least 700mA.

Once you have completed above steps then the output will be shown as below. One of the gauge will show the humidity data and other gauge will show the temperature data.

Conclusion
This is a simple way to connect DHT11 with ESP8266-01. Also it helps you to know, how to read DHT11 sensor data using Blynk app. Since this is working with Blynk, you can build you own Blynk Local server to connect your own IoT devices within a secure network.
