
What is WiFi Manager?
Today almost all home appliance can be connected to internet. They are controlled over smartphones. WiFi Manager is one of the best way to connect your IoT devices without hard coding your routers user id and password.
IoT is getting added to our life day by day. Whenever a WiFi or IoT based project is built, its requires internet connection to work.
To connect these devices to internet we have to share our network or routers user id and password. Putting these critical data on these devices can be a security threat to our network.
In this article we will see how how to connect your wifi module using WIFI Manager.
How it works?
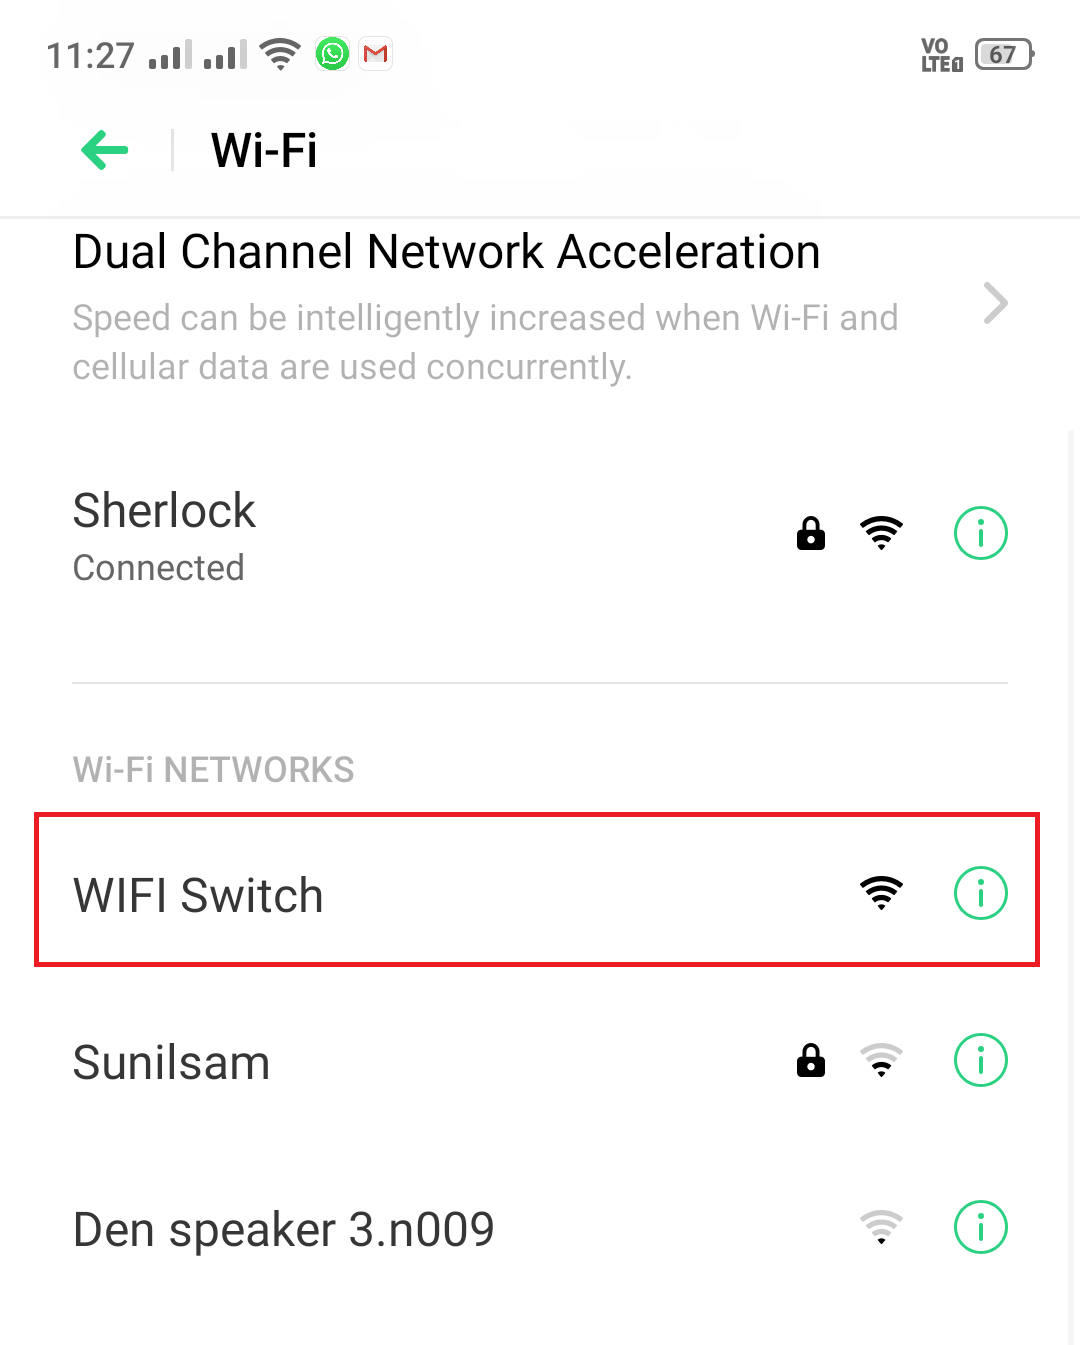
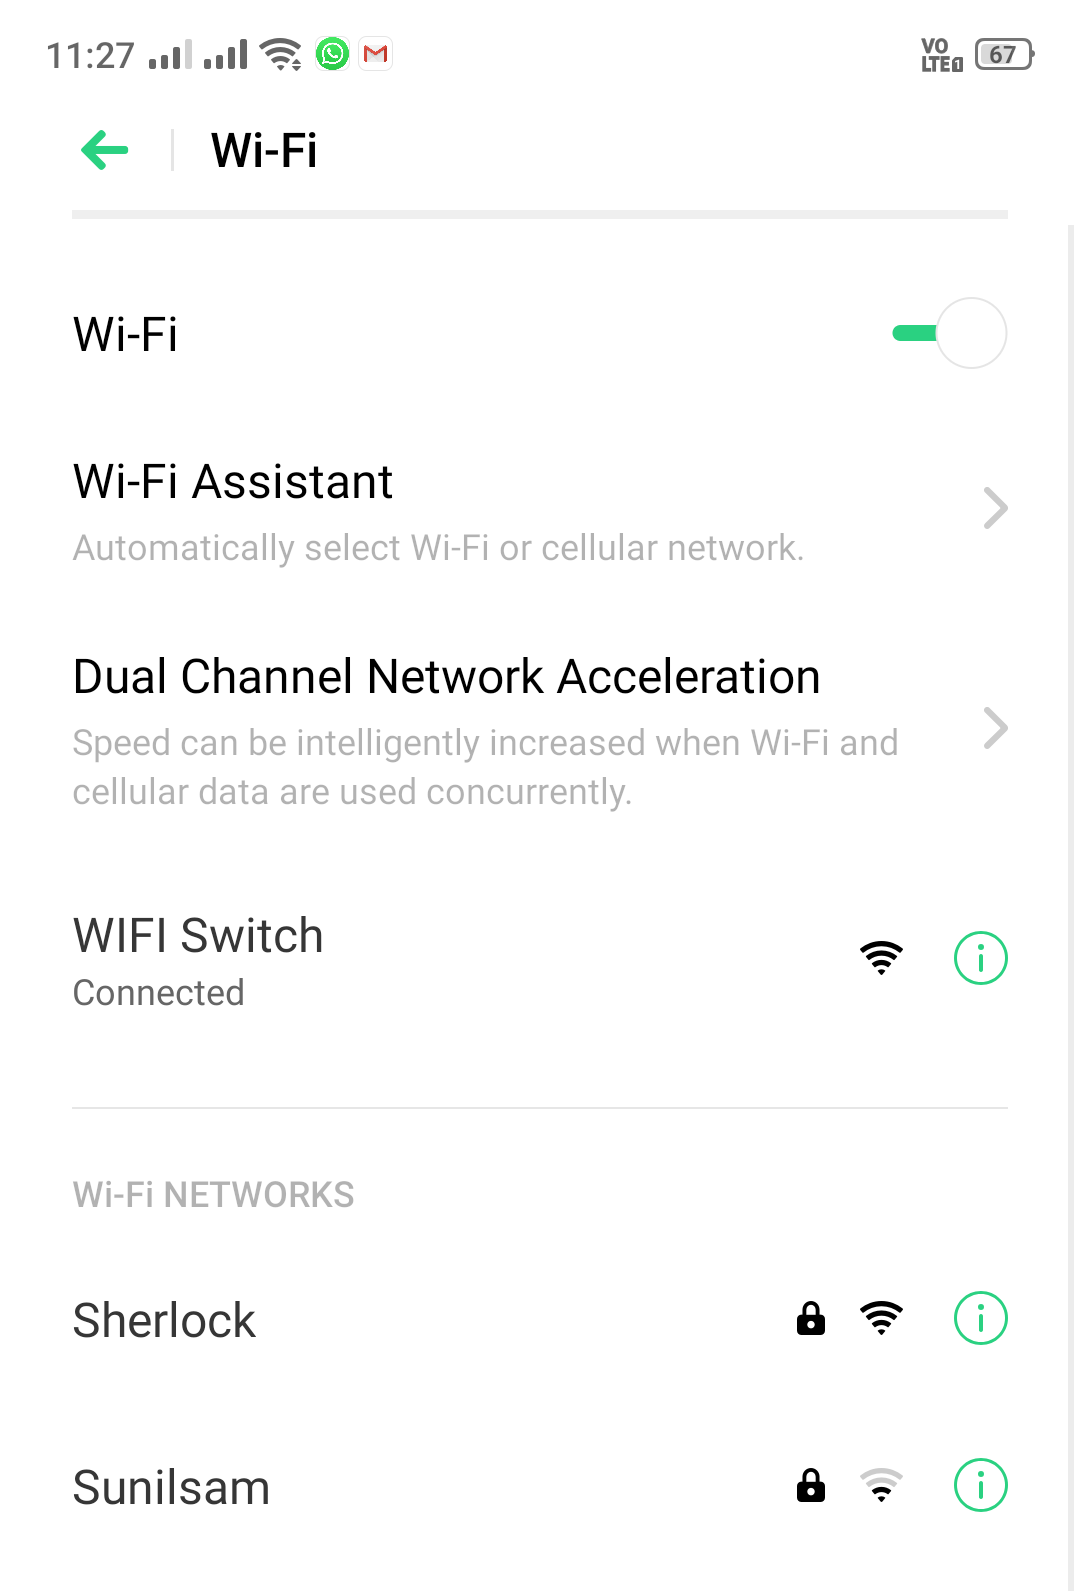
Initially the device where WiFi manager is uploaded will work as a access point. In this case it will show as “WiFi Switch“. Power on you device and go to wifi settings.
You will see a SSID listed with your other wifi SSID. You can change this SSID to anything you want before uploading this code.
//**************************WiFi Manager Code************************
  EEPROM.begin(512);
  Serial.begin(9600);
  WiFiManager wifiManager;
  wifiManager.setTimeout(60);
  //wifiManager.resetSettings(); //Uncomment this to wipe WiFi settings from EEPROM on boot.
  //Comment out and recompile/upload after 1 boot cycle.

  if (!wifiManager.autoConnect("WIFI Switch")) // Change the SSID of your choice within quotes
{
    delay(3000);
    ESP.reset();
    delay(5000);
}
  Blynk.begin(auth, WiFi.SSID().c_str(), WiFi.psk().c_str());
  //*******************************************************************
Once you see the given device SSID is listed on your mobile, just tap on it to connect. This process is one time and it will not prompt for any password to connect.
Once it is connected open chrome browser on your smartphone.
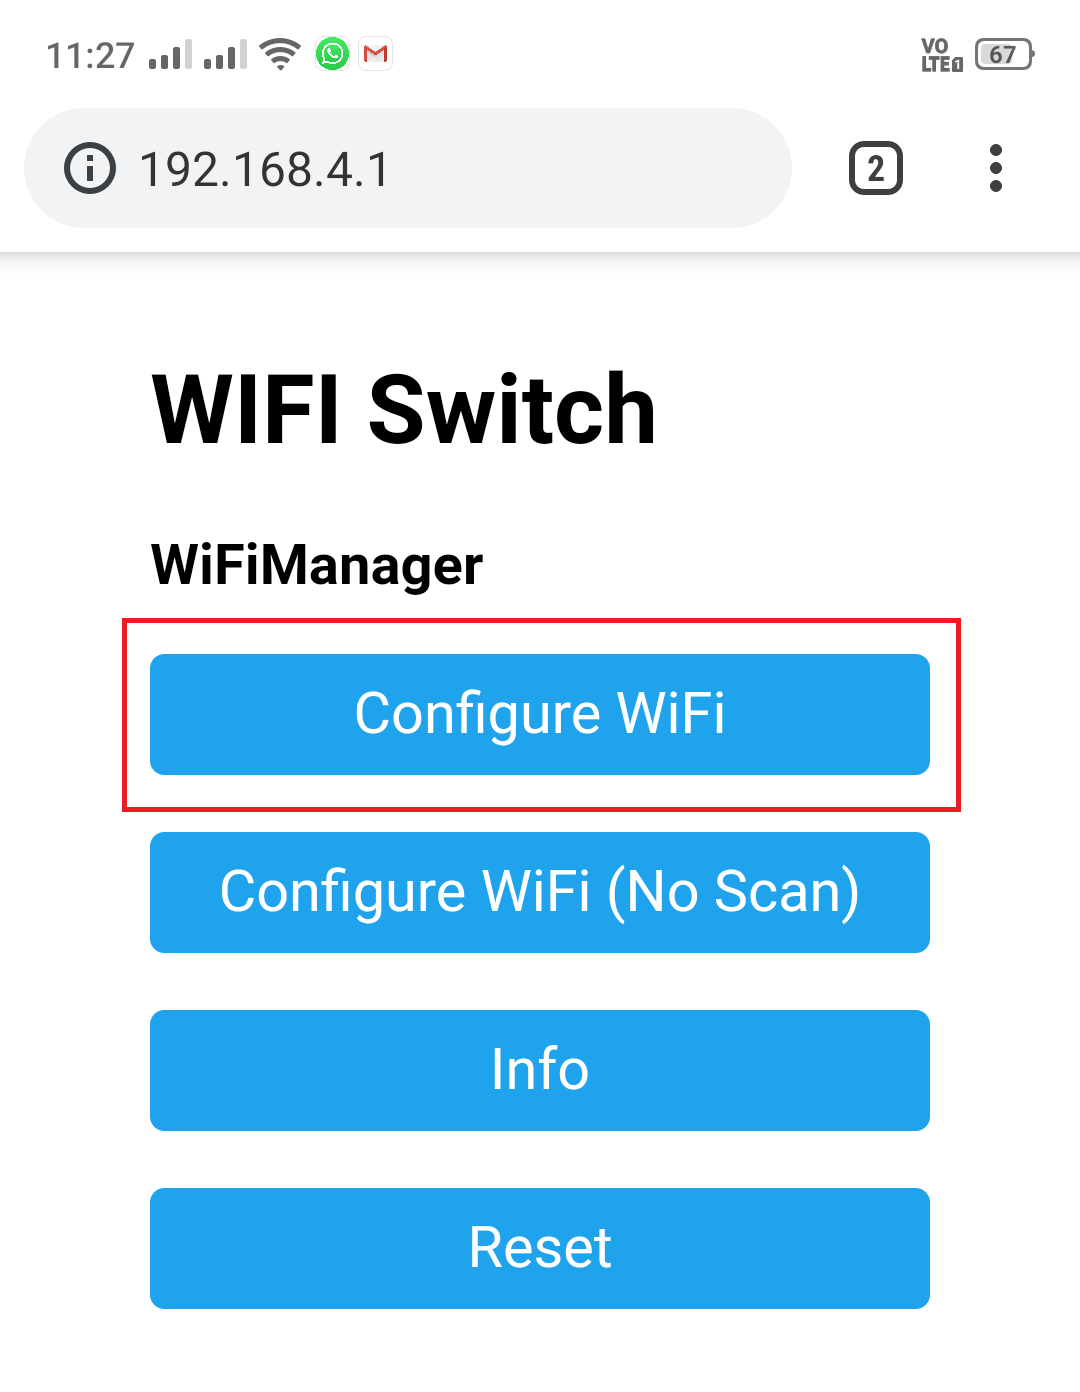
Once you have launched the browser, go to IP 192.168.4.1 or else it will automatically open the WIFI manager configuration page. Tap on Configure WiFi
Next page you have to select your broadband/Routers WiFi SSID
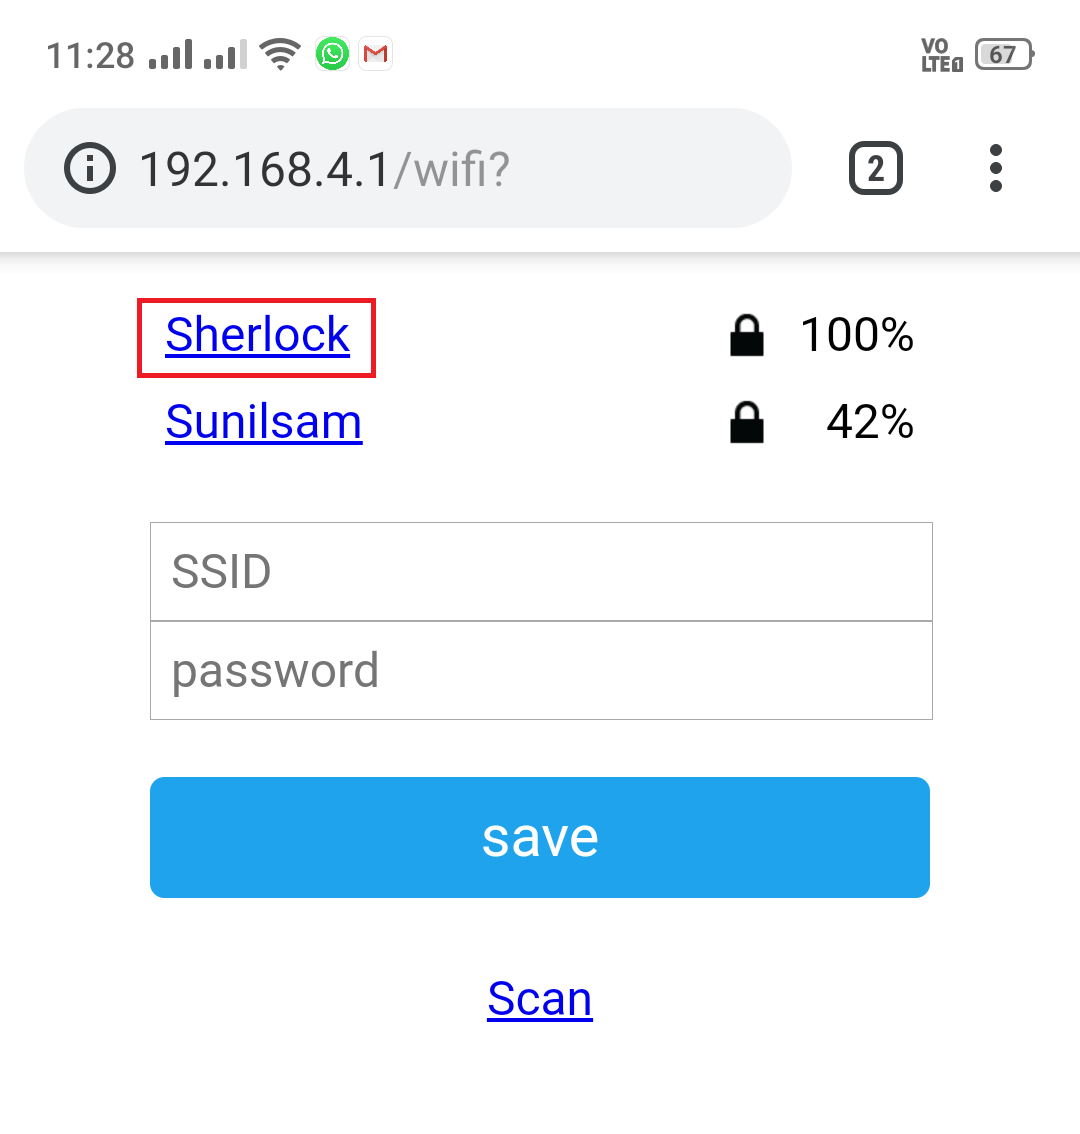
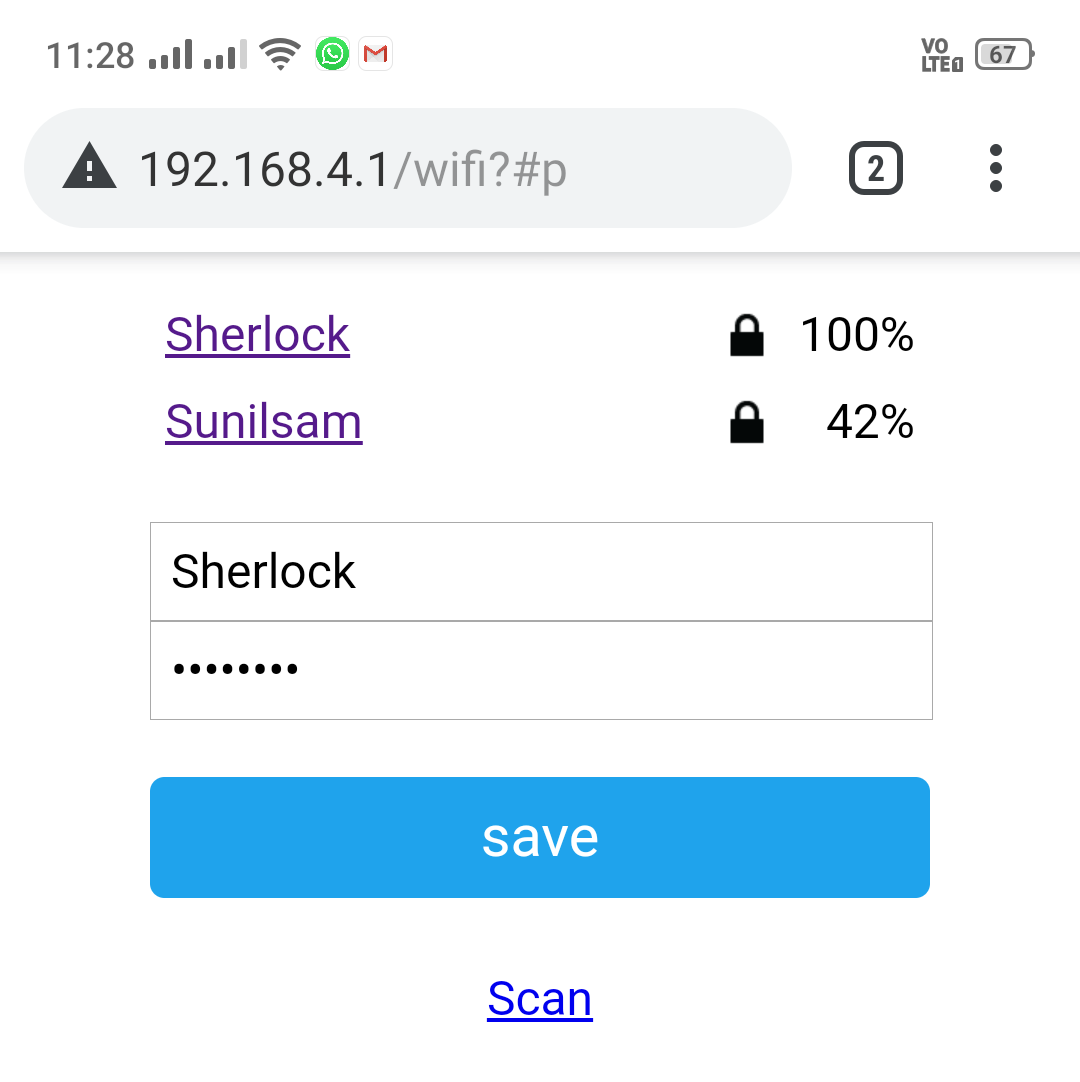
Here we have selected Sherlock since it our routers SSID. Enter the password for this network and click on Save
It will show you Credentials Saved
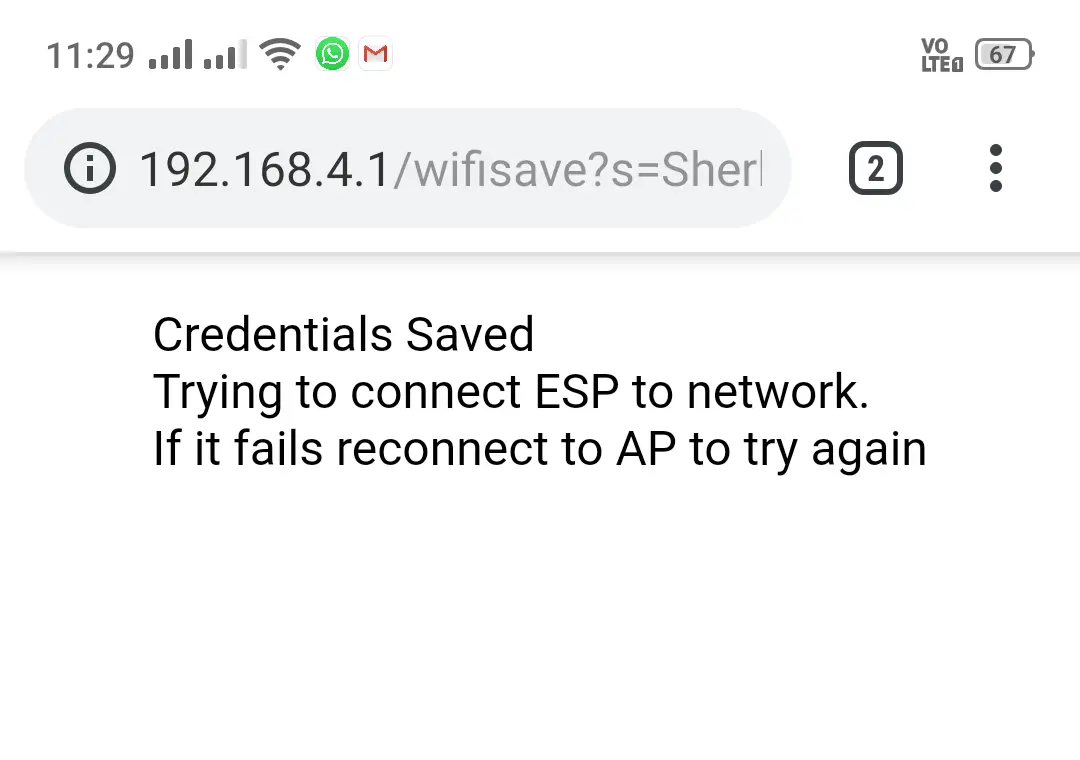
Now your Smart Switch device is connected to internet and ready to use now. The access point will automatically close and now your Smart Switch device will connect as a Wifi Station with your router.
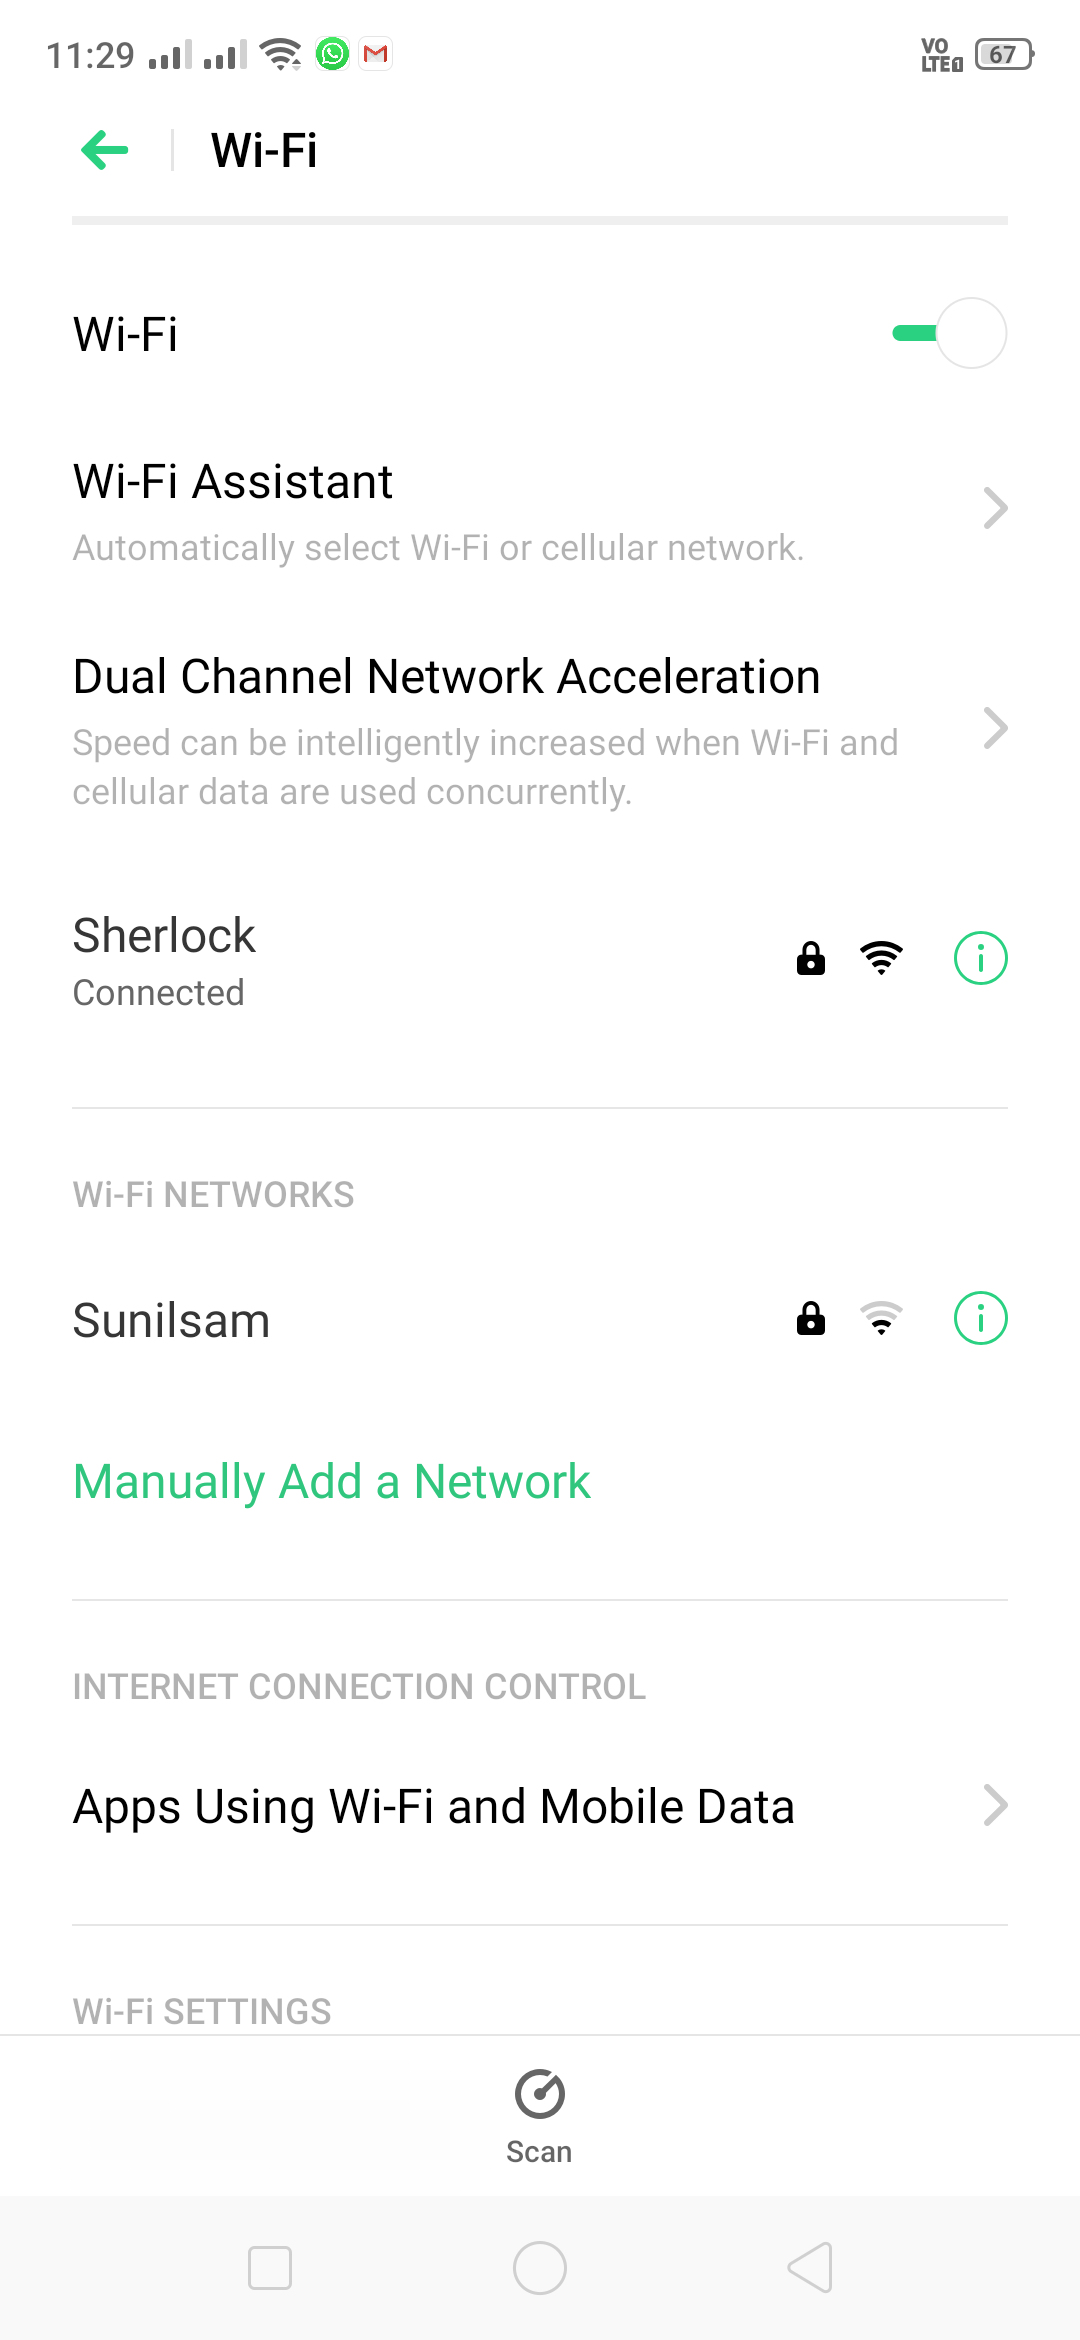
After power failure, you don’t have to reconfigure the your device wifi since the password is already saved.
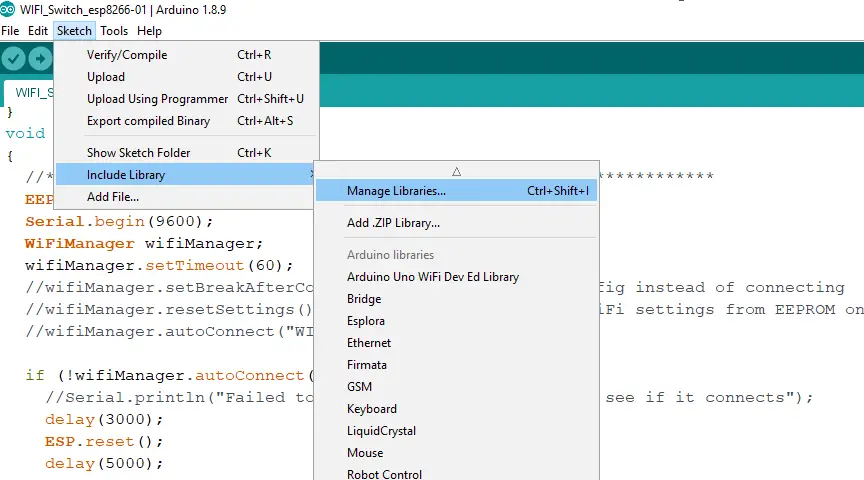
Installing Library
Before you apply WiFi manager code you need to configure Arduino IDE. You have to make sure you have installed WiFi Manager library.
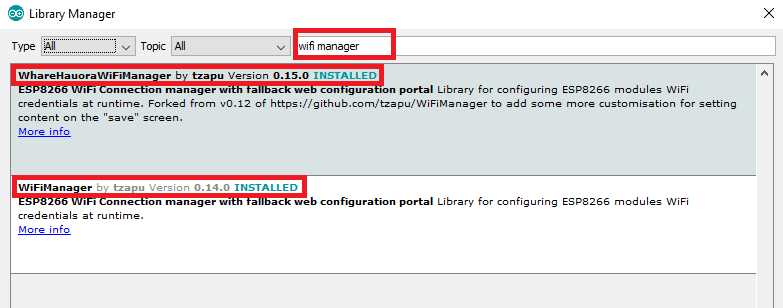
For installing Library you have to locate to Manage libraries
Once you open manage libraries search for wifi manager and install the highlighted ones.
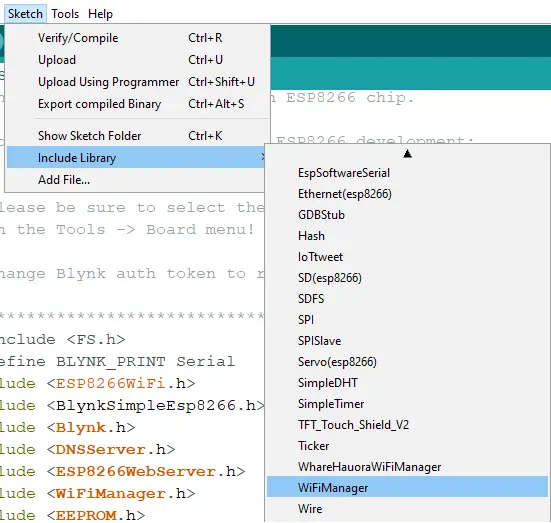
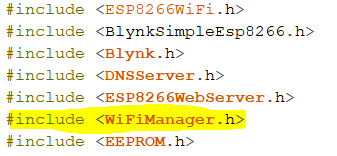
Once you add the library you can see the it is listed in the library list
Uses
This is best meant for all IoT based projects where you need to connect with internet. This also gives feasibility to use without using any complicated app. Using a mobile browser you can configure and connect.
Conclusion
This is a completely free and easy to use WiFi management system. This can be used on your IoT projects for free of cost. This also gives you a understanding of WiFi Access Points and WiFi Station works.
Please comment if you plan to use this in your IoT projects.
Note: I don’t take any credit of this code. All credit goes to respective owner For more info visit Here


Hi, which module have you used in this project?
You can use any esp8266 module.