Low Cost Local Blynk Server for IoT Projects
You might be creating lot of IoT projects and these projects are connected to internet via some IoT platform. If you are using Blynk then you might be connecting your projects with Blynk cloud server. In this article you will learn how to build a Low Cost Local Blynk Server for IoT Projects.
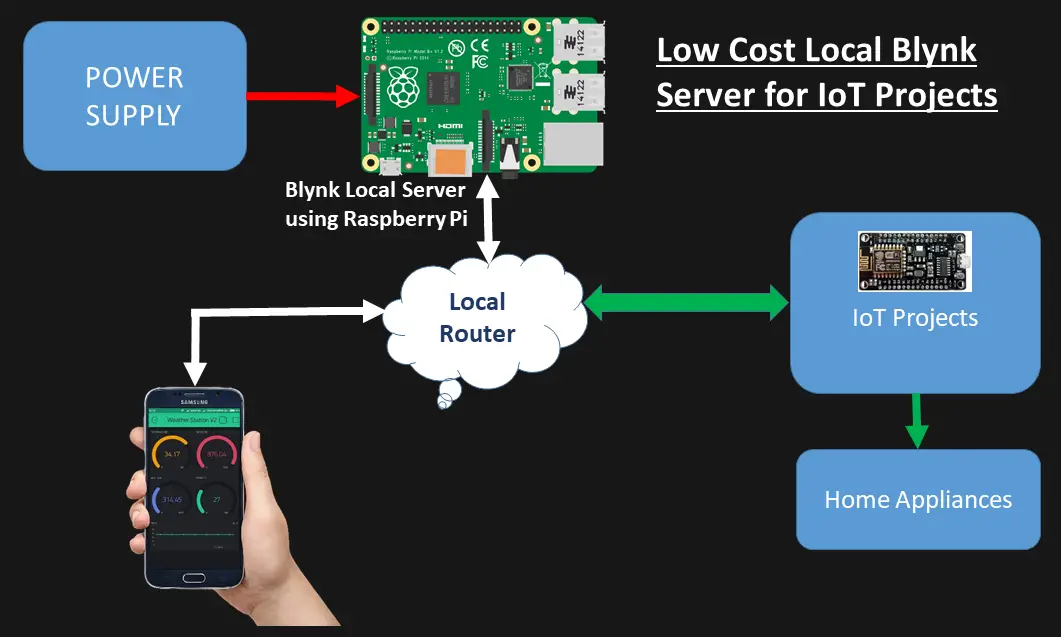
If you are want your isolate your devices and make them completely secure then you can create this local blynk server using Raspberry Pi and connect your projects.
Prerequisites
- Raspberry Pi (Any version, preferably Pi Zero W)
- Raspbian OS loaded in a 16Gb Micro SD memory card
- Raspberry Pi should be accessible via SSH or using VNC Viewer
- Need Putty
Requirements for blynk Installation
- Requires Java 8 from Open JDK or 11 from Oracle
- Any OS that can run java
- Minimum 30 MB of RAM
- Port 9443 opened for app and hardware with SSL
- Port 8080 opened for hardware without SSL
Download latest server jar file from here.
How it Works?
This is an Open-Source Java based server. It is can forward messages between Blynk mobile application and various micro-controller based development boards. It can be used in different single based computers (like Orange Pi, Raspberry Pi etc). Blynk is easy to interface with different projects. This low cost local blynk server for IoT projects works without internet. It is very secured as it is not connected to internet.
Configuring Blynk Local Server on Raspberry PI
Follow the below steps to configure
Step# 1 Installing Java
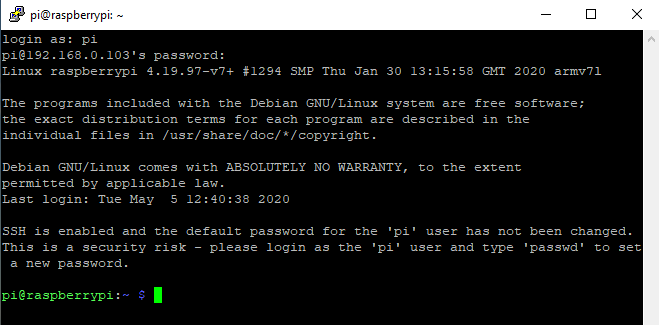
Login to Raspberry Pi via ssh using its IP. You can get the IP from your routers DHCP client page or using advanced IP scanner


Enter User name as pi and password as raspberry

Finally you will be logged in
Installing Java 8 on Raspberry Pi
Before downloading and configuring Blynk server you need to install java 8 of your PI board. You can cpy paste below commands.
sudo apt update

sudo apt install openjdk-8-jdk

sudo update-alternatives –config java
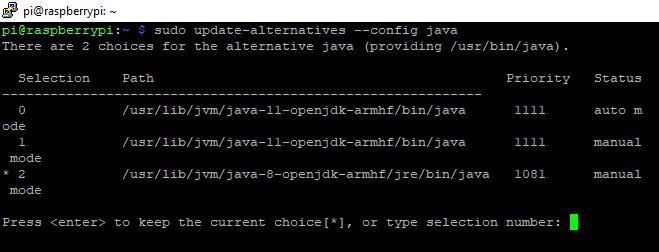
There are 2 choices for the alternative java (providing /usr/bin/java).
Selection Path Priority Status
————————————————————
* 0 /usr/lib/jvm/java-11-openjdk-armhf/bin/java 1111 auto mode
1 /usr/lib/jvm/java-11-openjdk-armhf/bin/java 1111 manual mode
2 /usr/lib/jvm/java-8-openjdk-armhf/jre/bin/java 1081 manual mode
Press <enter> to keep the current choice[*], or type selection number:
Select 2 and press Enter
java -version

Step# 2 Download Blynk server jar file
Now we need to download Blynk server jar file. You can manually download this file to Raspberry Pi via ssh.
Copy paste below command
wget “https://github.com/blynkkk/blynk-server/releases/download/v0.41.13/server-0.41.13-java8.jar”

Below command to start the blynk local server for first time. The server will run on default hardware port 8080 and default application port 9443 (SSL port)
java -jar server-0.41.13-java8.jar -dataFolder /home/pi/Blynk

As output you will see something like
Blynk Server successfully started.
All server output is stored in folder ‘/home/pi/logs’ file.
Your Admin url is https://127.0.1.1:9443/admin
Your Admin login email is admin@blynk.cc
Your Admin password is admin
Step# 3 Enabling Email Feature
When you setup your project you need a Authentication Token for your code. This is a combination of alphanumeric string. Once you create your project, blynk will send an email containing this Auth Code to your registered email address. For sending this auth code using email, this feature has to be enabled. This is a one time process and it works only with gmail configurations.
Create a new file and name it mail.properties and save it in the same folder where the jar file resides.
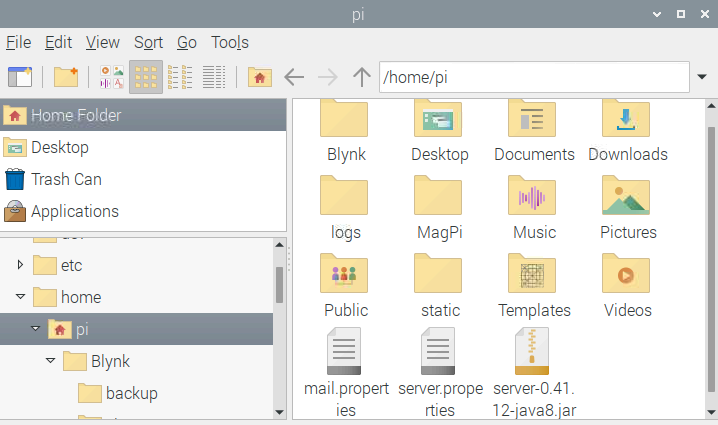
Copy paste below lines in mail.properties file. Just enter username and password details.
mail.smtp.auth=true
mail.smtp.starttls.enable=true
mail.smtp.host=smtp.gmail.com
mail.smtp.port=587
mail.smtp.username= Your email
mail.smtp.password=Password
mail.smtp.connectiontimeout=30000
mail.smtp.timeout=120000
Make sure you turn on less secure app on your gmail account
- Go to your (Google Account)
- Click Security and scroll down
- You will find Less secure app access
- Click on Turn On Access (not recommended)
- Slide the button to enable Allow less secure apps: ON

Step# 4 Configuring the Ports
Now we are going to create a new file beside mail.properties and name it server.properties. This file will allow you to configure or modify the communication ports. You have to copy the below codes and paste it in server.properties file.
#hardware mqtt port
hardware.mqtt.port=8440
#hardware ssl port
hardware.ssl.port=8441
#hardware plain tcp/ip port
hardware.default.port=8442
#http and web sockets port
http.port=8080
#https and web sockets port
https.port=9443
#application ssl port
app.ssl.port=8443
allowed.administrator.ips = 0.0.0.0/0
Step# 5 Starting the Blynk server automatically
In case if there is a power loss or you raspberry pi reboot, then the local blynk server should start automatically. For automating this we need to make changes to crontab which is a scheduler file in linux.
Edit the crontab

pi@raspberrypi:~ $ crontab -e
no crontab for pi – using an empty one
Select an editor. To change later, run ‘select-editor’.
1. /bin/ed
2. /bin/nano <—- easiest
3. /usr/bin/vim.tiny
Choose 1-3 [2]: 2
Once you open the editor as shown below, Add the below line at the bottom of the editor and save it. Reboot the raspberry pi to check.
@reboot java -jar server-0.41.13-java8.jar -dataFolder /home/pi/Blynk &
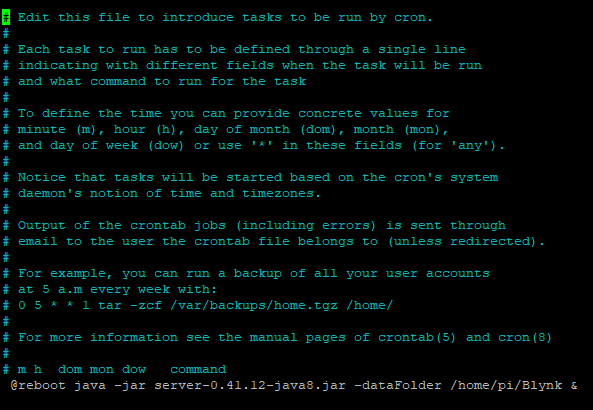
Testing the Raspberry Pi Local Server Configuration
Since we have configured our raspberry pi as a local blynk server hence we need to test it. For testing we can open blynk local server admin page. Check the IP address of you Pi and put it in a browser of your laptop or mobile. It should be
https://Your_pi_IP_address:9443/admin
![]()
Since there is no proper SSL certificate hence it will pop security warning. This can be done using advance configurations which can be found here.
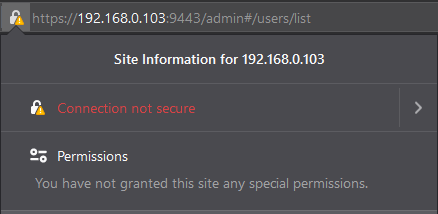
Click on Go back (Recommended) and click Accept the Risk and Continue
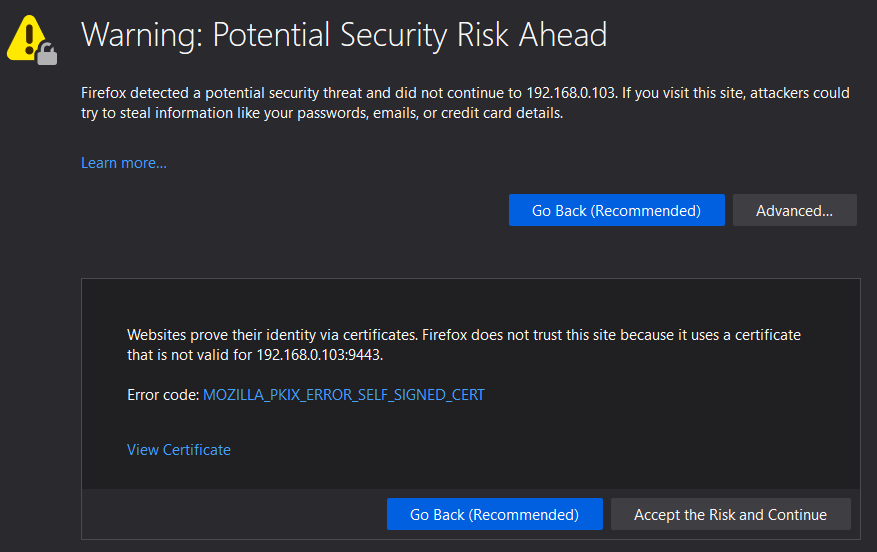
Now it will load the admin page. use below details
Default Email address: admin@blynk.cc
Password : admin

Blynk Dashboard

Now if you click on Users. You can see the list of users registered email id’s.

For every users profile you can see multiple edit options. In local blynk server you can have your desired amount of energy for every user. And it’s free.
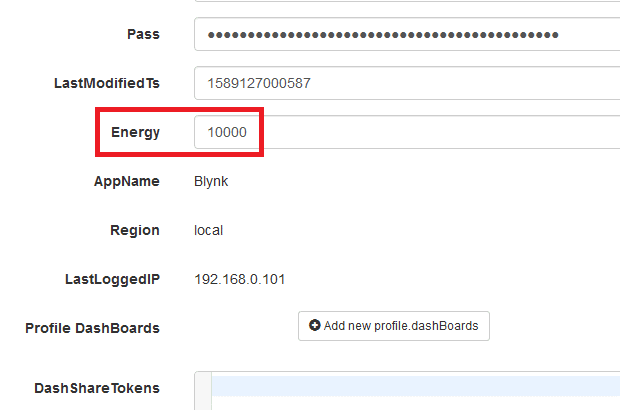
If you are able to login then you configuration is good and you are ready to use your Low Cost Local Blynk Server for IoT Projects.
Changes required in the code
In your Ardruino code, you have to make changes to few line as shown below.
You have make changes to your WIFI sketch from
Blynk.begin(auth, ssid, pass));
to
Here “your_host” will be a domain name if you have selected for your Raspberry Pi
Blynk.begin(auth, ssid, pass, “your_host”, 8080);
void setup()
{
// Debug console
Serial.begin(9600);
//Blynk.begin(auth, ssid, pass);
Blynk.begin(auth, ssid, pass, &quot;your_host&quot;, 8080);
}
or
Here IPAddress will be your Raspberry Pi IP Address
Blynk.begin(auth, ssid, pass, IPAddress(XXX,XXX,XXX,XXX), 8080);
void setup()
{
// Debug console
Serial.begin(9600);

//Blynk.begin(auth, ssid, pass);
Blynk.begin(auth, ssid, pass, IPAddress(XXX.XXX.XXX.XXX), 8080);
}
Conclusion
This is a simple project to configure you raspberry Pi into a Blynk local server. it will help you keep your iot network secure and isolated. Further configuration can be made by port forwarding, which can help you access your IoT devices from internet.
