Controlling ESP32 via Bluetooth using Blynk App
You might have used ESP32 development board in different IoT projects. Mostly we connect it with WIFI and try to access or control IoT devices. In this post you will learn Controlling ESP32 via Bluetooth using Blynk app.
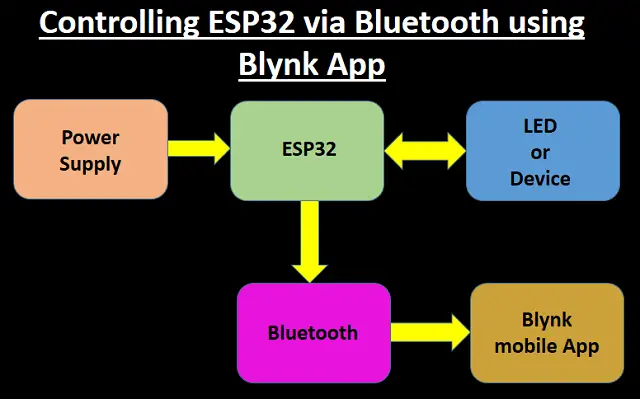
This will allow you to control the devices attached with ESP32 via your smartphone or tablet using Bluetooth(BLE). ESP32 is a differentiated platform that already has built-in Wi-Fi and Bluetooth. This is one of the main reason to make it an excellent option for projects where it is necessary to use a wireless communication to send commands or exchange information.

If you are new to Blynk app then, I recommend that you read about Blynk. It will give you the basic understanding of the blynk app which is used further in this tutorial. We will be using Arduino IDE for uploading the code.
The ultimate goal for this practice is the integration between ESP32, Blynk and a smartphone or tablet. The communication between ESP32 and the mobile device that has Blynk installed, will be made through BLE connection (Bluetooth Low Energy or Bluetooth Smart).
BLE or Bluetooth 4.0, as it is also known, emerged in 2009. Unlike traditional Bluetooth, BLE makes it possible to reduce energy consumption levels in devices that do not need to send a considerable amount of data. In this way, compared to traditional Bluetooth, BLE can have an energy consumption of only 10% and in addition, it can be powered with small batteries.
Among the various areas of application of BLE, we can highlight the Internet of Things (IoT), which focuses on connecting all devices to the world wide web. With BLE the implementation of IoT projects can be done in a simpler way and without high investments. Now that you know a little about BLE, we can proceed.
To demonstrate the communication between ESP32 and Blynk through Bluetooth, we will use the onboard LED. Through the Blynk application installed on the mobile device it will be possible to switch this LED ON and OFF. It is important that ESP32 library is installed on your computer and that it is up to date.
Materials Required
In addition to an Android / iOS mobile device that has BLE, you will also need the following items:
- ESP32 Development Board [BEST BUY]
- Micro USB to USB cable
Connection
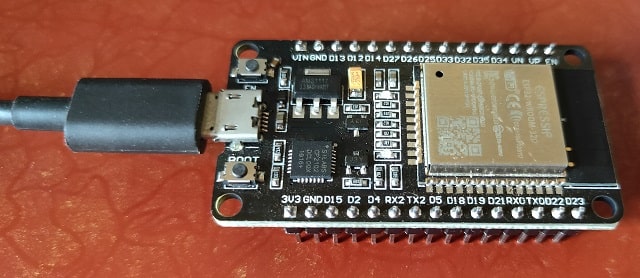
The connection is simple and easy. Connect one end of the data cable with ESP32 board and other end with your computer.
Blynk Setup
Setting up a project in Blynk app is easy. Follow the instructions and you will be able to create a new project.
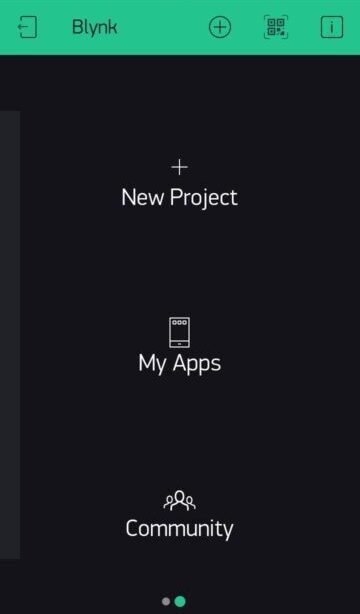
Tap on new project in blynk app
Configure the project with below details.

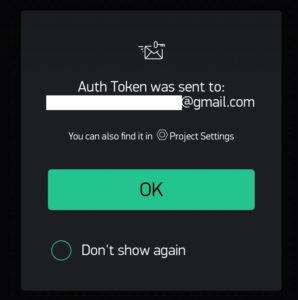
Immediately a Authentication Token will be sent to registered email id.
From Widget Box Select BLE and Button

Now configure the button as shown below

Lets connect the ESP32 using Bluetooth. Tap on Connect BLE device.

Here we have named Blynk-Test in the code. The same name will reflect there. Select it and tap on OK.

Now it you mobile will try to connect with ESP32 Bluetooth.

Once connected it will show connected.

The BLE icon will turn blue which indicates it is connected with a Bluetooth device. now tap on paly button to activate the project in Blynk app.

Finally you can tap on Button to turn on and off the built in LED in ESP32.

Other Projects:
- Raspberry Pi PICO with Thonny IDE
- How to install Raspbian Lite on Raspberry Pi Zero W
- Connecting DHT11 Sensor with Raspberry Pi 4 / 3 using Python
- IoT based Timer Switch using Blynk and NodeMCU
- How to read DHT11 sensor data using Blynk
- Smart Doorbell using ESP32 Camera
- NodeMCU ESP8266 IoT based LPG Gas Leakage Alarm
Code
Copy and paste the below code in Arduino IDE. Also you can open it from Blynk examples. Before uploading the code please make sure you update the Auth Token which you will receive on your registered email id.

#define BLYNK_PRINT Serial

#define BLYNK_USE_DIRECT_CONNECT

#include <BlynkSimpleEsp32_BLE.h>
#include <BLEDevice.h>
#include <BLEServer.h>

// You should get Auth Token in the Blynk App.
// Go to the Project Settings (nut icon).
char auth[] = "YourAuthToken";

void setup()
{
// Debug console
Serial.begin(9600);

Serial.println("Waiting for connections...");

Blynk.setDeviceName("Blynk-Test");

Blynk.begin(auth);
}

void loop()
{
Blynk.run();
}
Construction & Testing
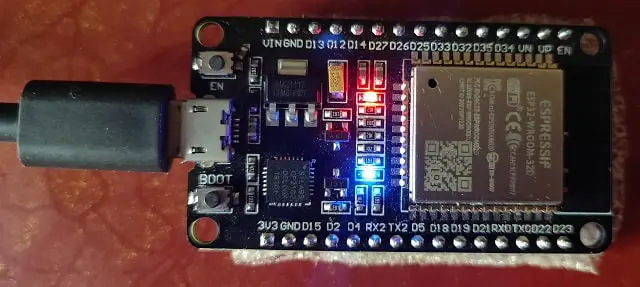
Once you upload the code and connect ESP32 with Blynk app, on tapping the button you can see the blue onboard led is turning ON and OFF.
Conclusion
This is a simple project for beginners to understand the connectivity between ESP32 and blynk app using Bluetooth. You can connect other devices replacing LED with GPIO pins to control them via Bluetooth. If you like this article than please share the link and help us to grow and spread the knowledge.
