Connecting BMP280 Sensor with Raspberry Pi Pico W
In the vast landscape of Internet of Things (IoT), environmental sensing has become an integral part of numerous projects. Monitoring temperature, pressure, and humidity can provide valuable data for various applications, from weather stations to smart homes. In this article, we’ll delve into the process of connecting a BMP280 sensor with the Raspberry Pi Pico W, creating a powerful combination for environmental data collection.
Materials Required
- Raspberry Pi Pico W
- BMP280 Sensor
- Breadboard and jumper wires
Understanding the BMP280 Sensor
The BMP280 sensor is a versatile device that combines temperature and pressure sensing capabilities. This sensor is manufactured by Bosch and commonly used in applications requiring accurate environmental data. Its compact size and low power consumption make it an ideal choice for IoT projects.
Raspberry Pi Pico W – A Microcontroller Powerhouse
The Raspberry Pi Pico W is a microcontroller board based on the RP2040 chip. With its compact size, low cost, and powerful features, the Pico W is a popular choice for hobbyists and professionals alike. Its versatility makes it suitable for a wide range of projects, from simple LED blinkers to more complex IoT applications.
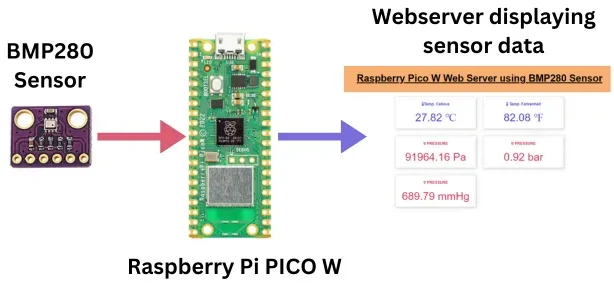
Working
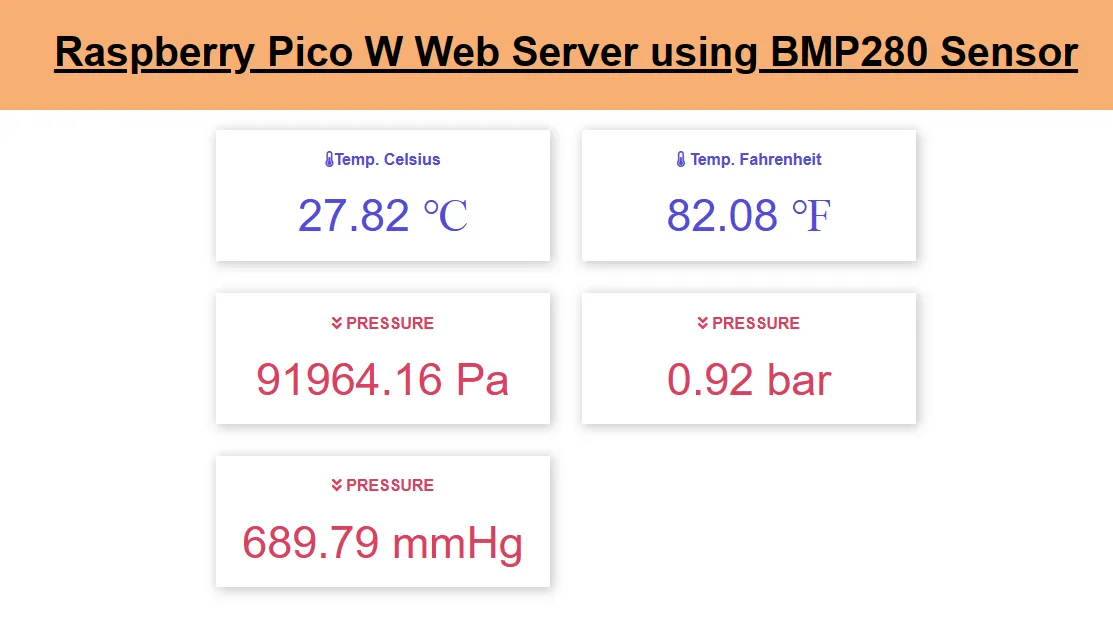
The BMP280 sensor collects the data and sends it to Raspberry Pi Pico W. Further Raspberry Pi displays the data in form of dashboard using a local webserver.
Setting Up the Raspberry Pi Pico W
Before diving into the sensor connection, ensure that your Raspberry Pi Pico W is set up with the appropriate MicroPython firmware. The official Raspberry Pi Pico MicroPython guide provides step-by-step instructions on how to get started. Make sure you have Thonny, a popular Python IDE, installed on your computer for programming the Pico.
Wiring the BMP280 Sensor to Raspberry Pi Pico W
To start our environmental sensing project, we need to connect the BMP280 sensor to the Raspberry Pi Pico W. Here’s the pin details provided along with the connection diagram.
Raspberry Pi Pico W | BMP280 Sensor |
VCC | 3.3V |
GND | GND |
SDA | GP0 |
SCL | GP1 |

Code
In this article we are using MicroPython to program the Raspberry Pi Pico W. You can use tools like Thonny or VS Code with the Pico-Go extension for a smooth development experience. In this tutorial we are using Thonny IDE. With the help of BMP280 library, the sensor reads the temperature and pressure data from the sensor. The library simplifies the interaction with the sensor, allowing you to focus on your project’s logic.
Tou can download the main program and the library file from the download link provided below. After downloading, upload the file in Raspberry Pi PICO W and update the Wi-Fi name and password to communicate.

Uploading the Code
To run this project, we will connect raspberry Pi Pico W with a computer/ laptop to upload the micro python code. We are using Thonny IDE for uploading the python files in Raspberry Pi Pico W. You can refer to this tutorial for connecting Raspberry Pi PICO with Thonny IDE.
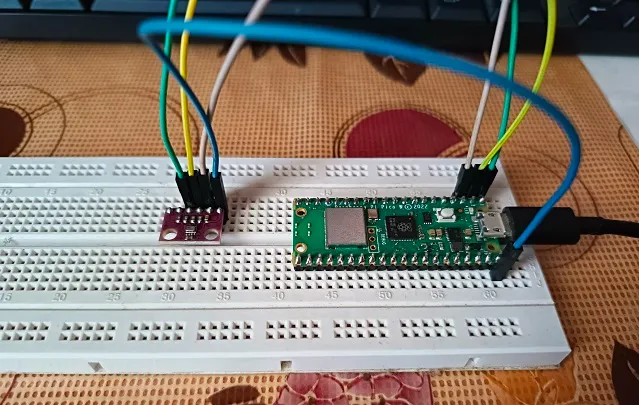
Building & Testing
After connecting the sensor with Raspberry Pi PICO W, it will look something like this.
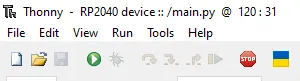
After uploading the code using Thonny editor, click on the green play button to execute the main.py code.
Once it is executed, you will find the raspberry pico W is trying to connect to your local Wi-Fi connection and show you below update. IP address showing might be different in your case.
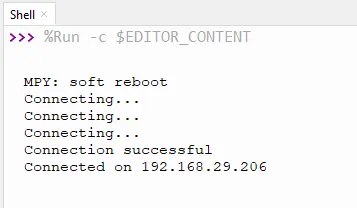
Now copy the IP address and put it in your web browser along with http://(e.g. 192.168.29.206). This will open the web server and it will display the sensor data as shown below.
Summary
Connecting the BMP280 sensor with the Raspberry Pi Pico W is a straightforward process that opens up a wide range of possibilities for environmental sensing projects. Whether you’re interested in weather monitoring, altitude tracking, or other applications, this combination provides a solid foundation for building your IoT projects. Experiment with different sensors and enhance your projects by integrating additional functionalities to create a customized and powerful environmental monitoring system with the Raspberry Pi Pico W. Hope you like this project, please share it with all electronics enthusiasts.
Related Articles:

