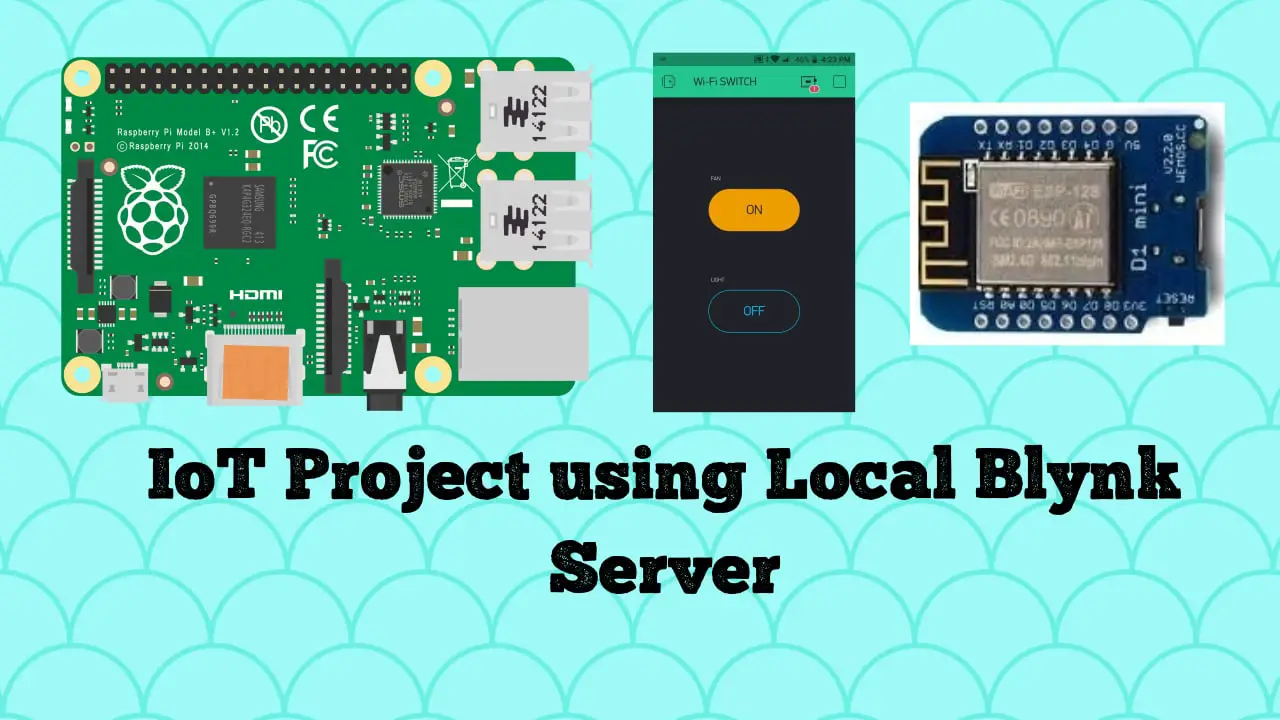
IoT Project using Local Blynk Server
We make lots of projects in IoT and we all connect it with some IoT platforms using internet. In this article you will learn how to connect a IoT Project using Local Blynk Server.
If you haven’t build local blynk server then please read the below post to configure the same.
Configure Raspberry Pi Based Local Blynk Server for IoT Projects
Parts List
This is a simple project using few components listed
- WeMos D1 Mini x 1
- Led any color x 1
- Resistor 330Ω x 1
- Breadboard x 1
- Jumper wires
How it Works?
The working is as same as connecting your device to blynk cloud and operating it. Instead of connecting it with blynk cloud we are connecting it with blynk local cloud server.
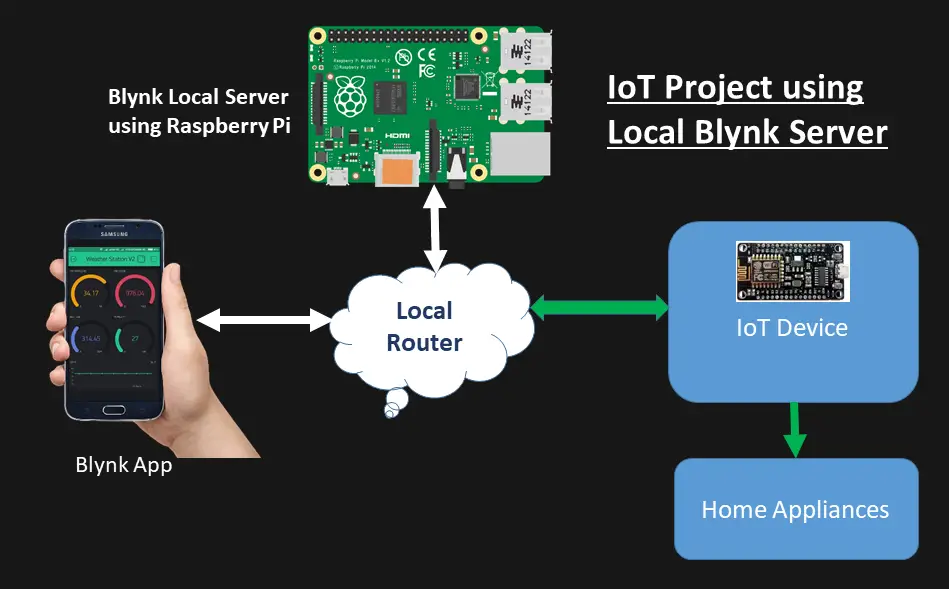
Connection Diagram
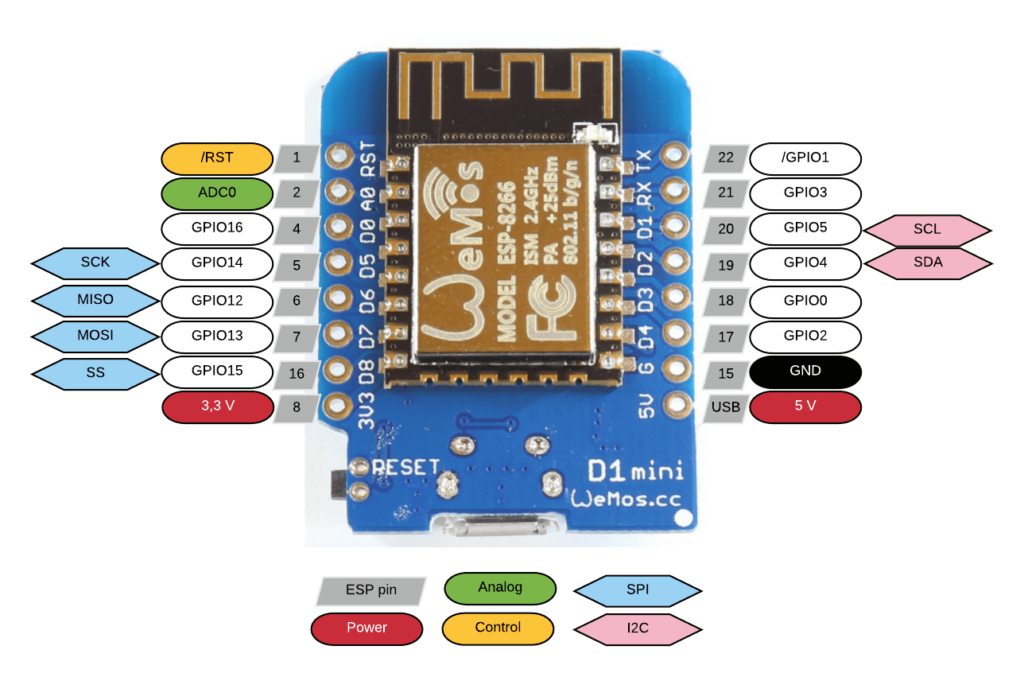
This is a simple connection diagram connecting three components. Below is the pin out diagram of WeMos D1 mini.
Registering Blynk App using Blynk Local Server
Download the app for your respective platform App Store or Google Play. Open the downloaded app
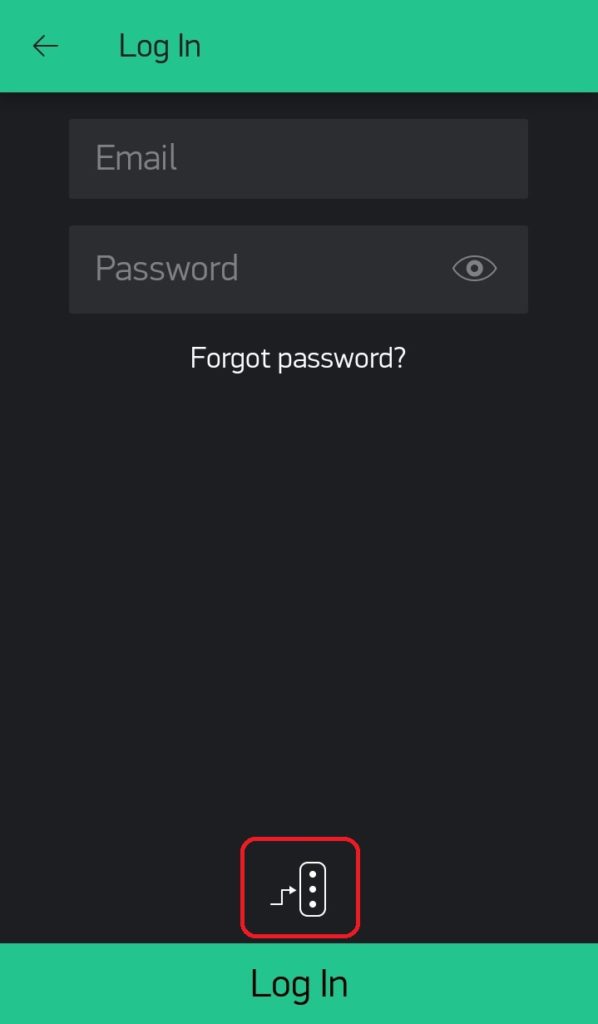
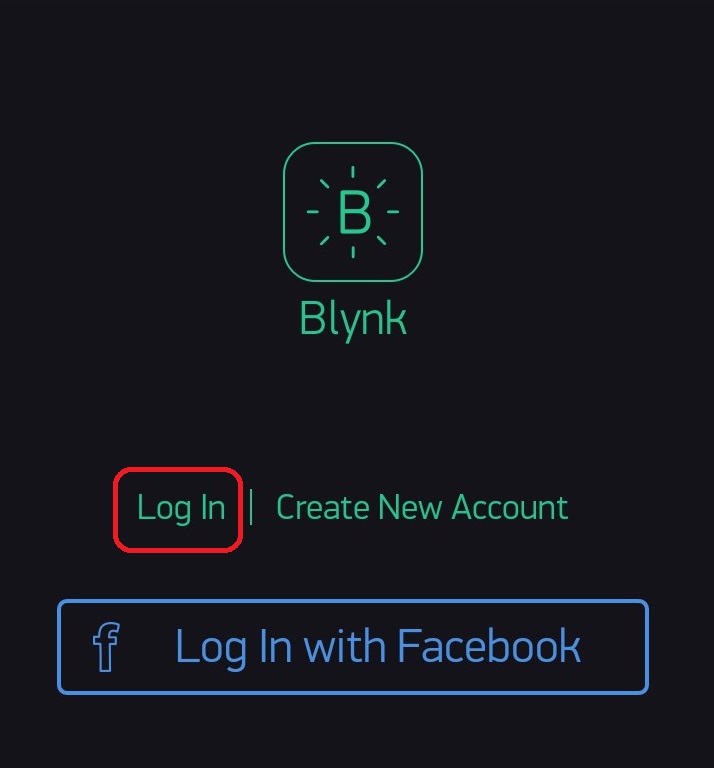
Tap on Log in
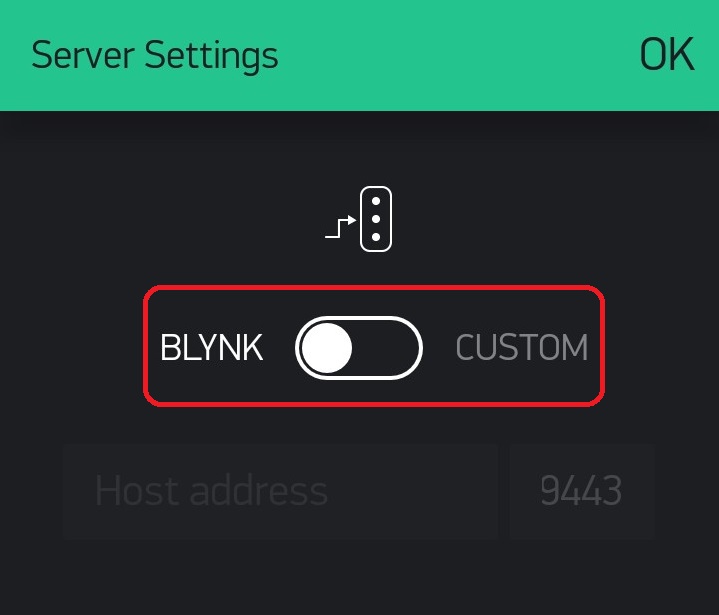
Tap on the Icon below
Slide the switch from BLYNK to CUSTOM
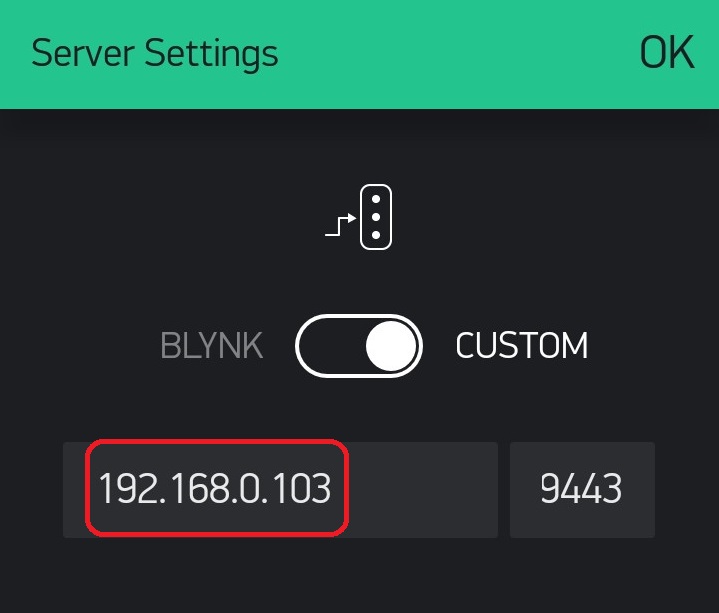
Enter the raspberry pi Local IP address and keep the default port as 9443. Tap on OK
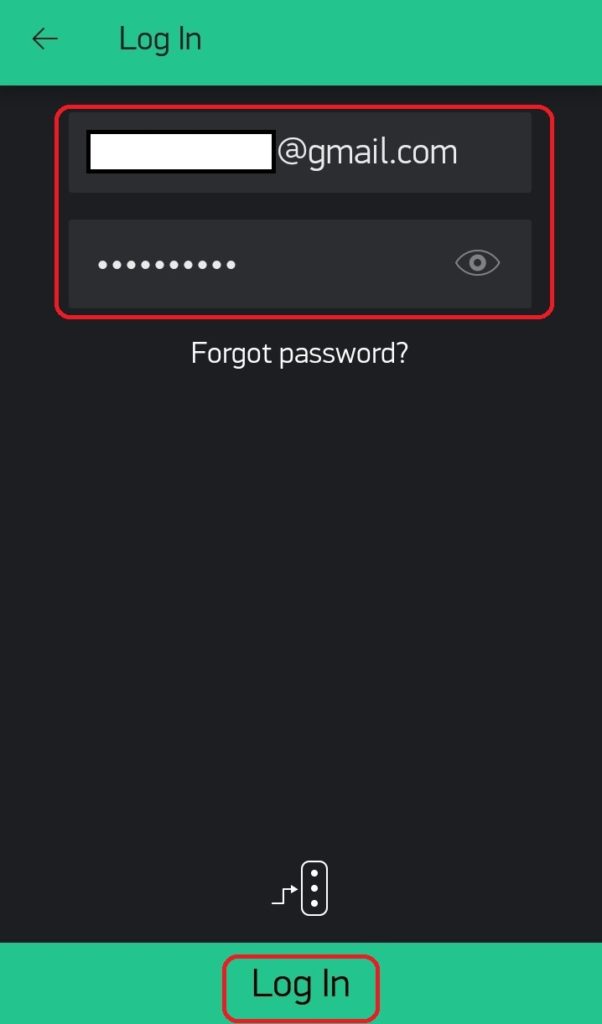
Enter your email address and provide a password to complete the registration process and Tap on Log In
Blynk Project Setup
Previously we have seen registering for first time in Blynk app using local blynk server.
Tap on New Project and update the details. Select the device WeMos D1 mini and tap on Create
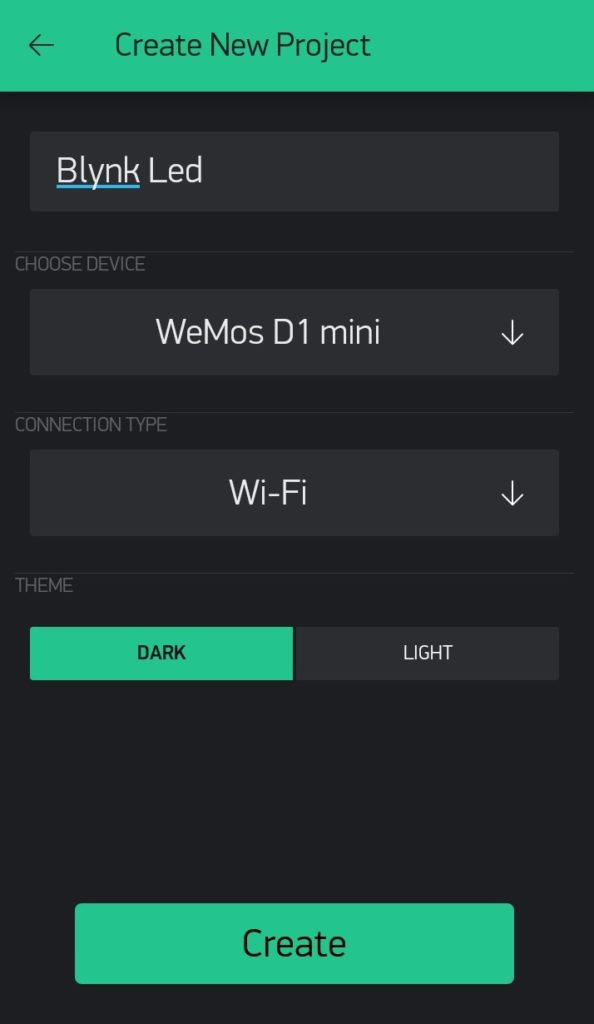
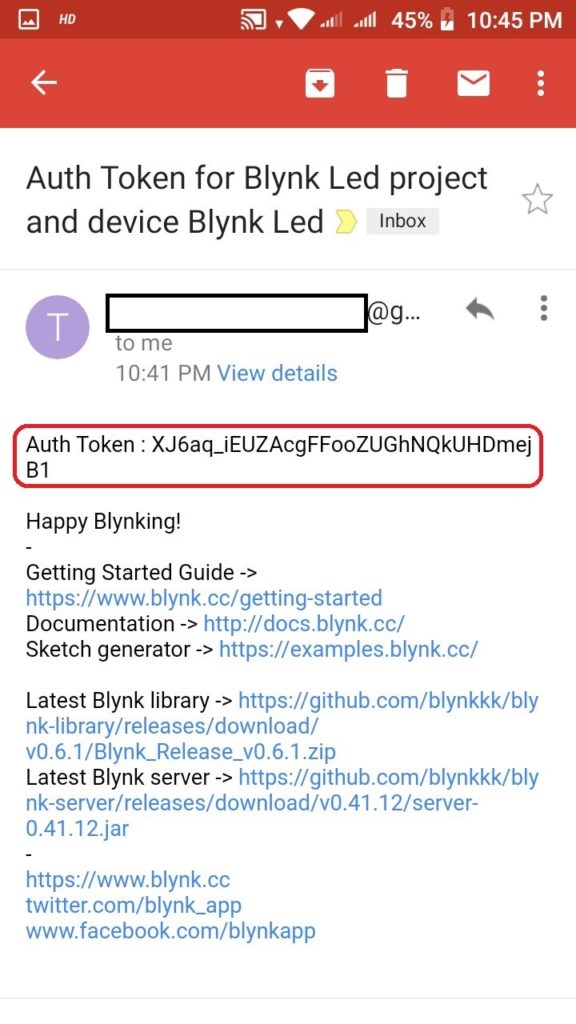
Authentication token will be sent to your registered email address.
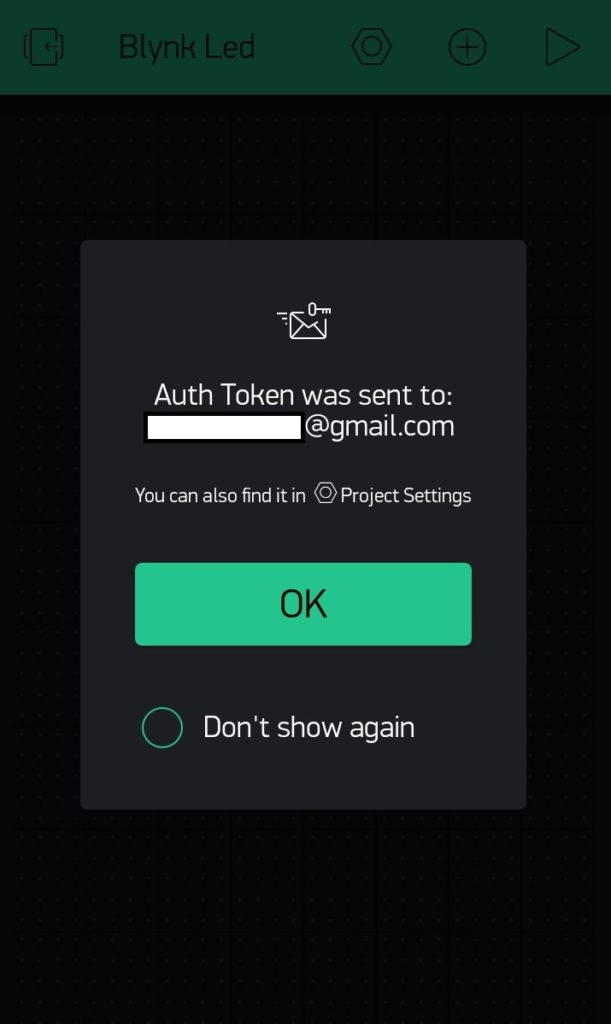
The mail will look same
Once your project is ready, you have to add Styled Button as shown below
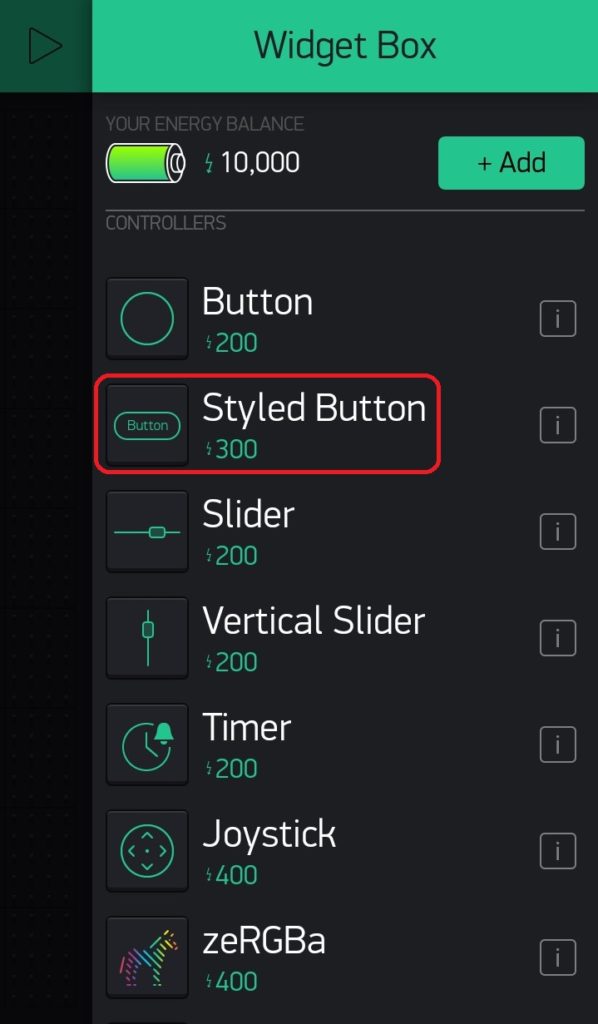
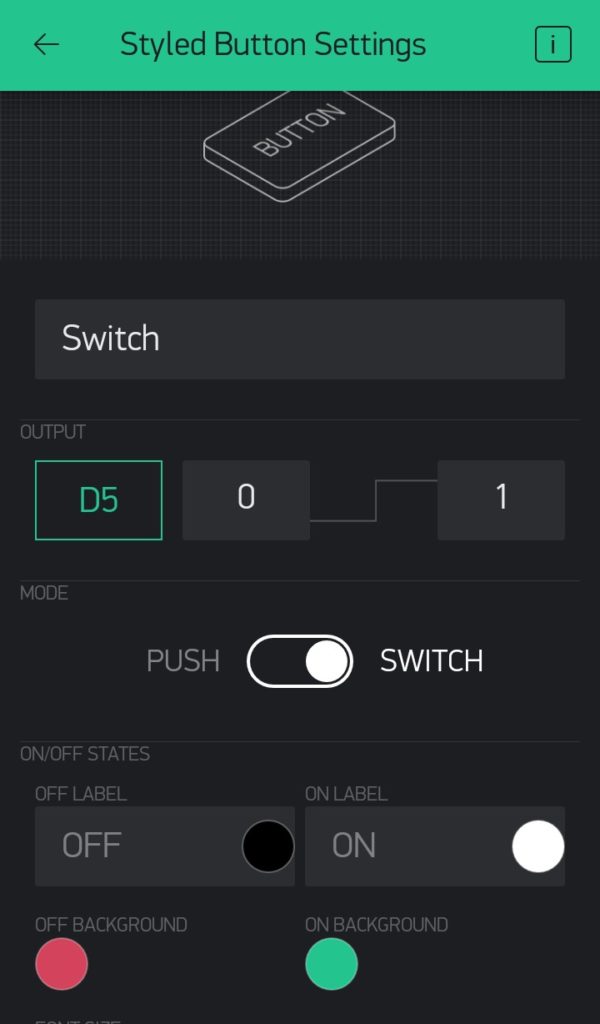
Tap on selected switch and we will configure it below
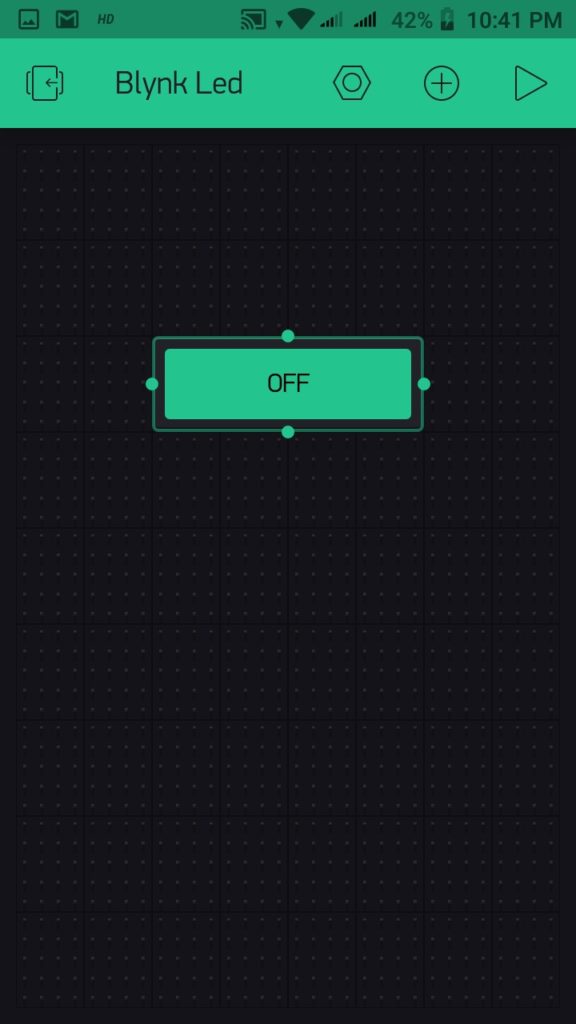
Just add a name and configure the details as shown below
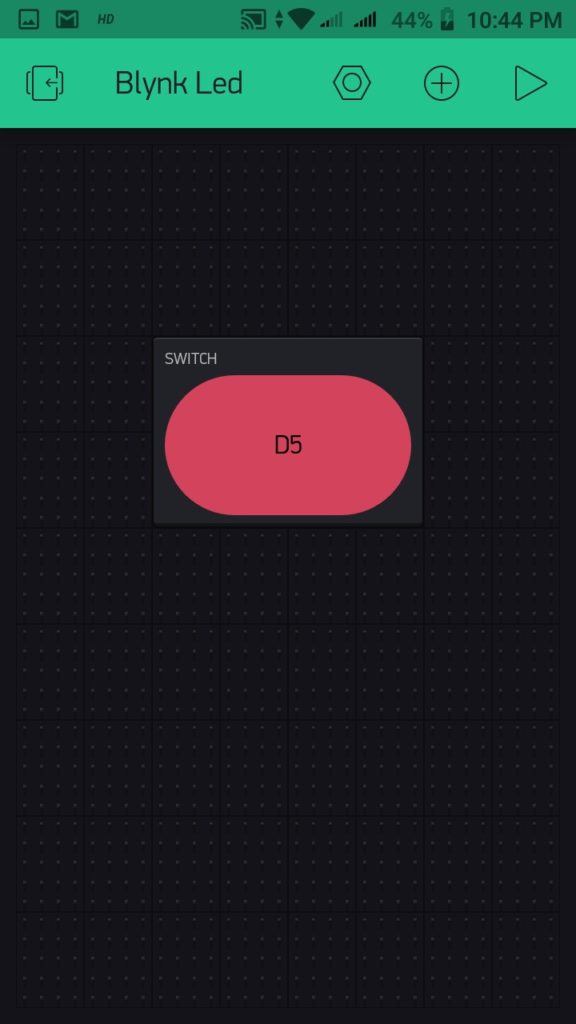
Your blynk setup in project is ready now.
Code
Copy paste this code in your Arduino IDE and upload the code. You can check how to upload code in WeMos D1 mini.
#include <ESP8266WiFi.h>
#include <BlynkSimpleEsp8266.h>

// You should get Auth Token in the Blynk App.
// Go to the Project Settings (nut icon).
char auth[] = "YourAuthToken";

// Your WiFi credentials.
// Set password to "" for open networks.
char ssid[] = "Your_Network_Name";
char pass[] = "Your_Password";

void setup()
{
// Debug console
Serial.begin(9600);
Blynk.begin(auth, ssid, pass, IPAddress(XXX,XXX,XXX,XXX), 8080);
}

void loop()
{
Blynk.run();
}
Construction
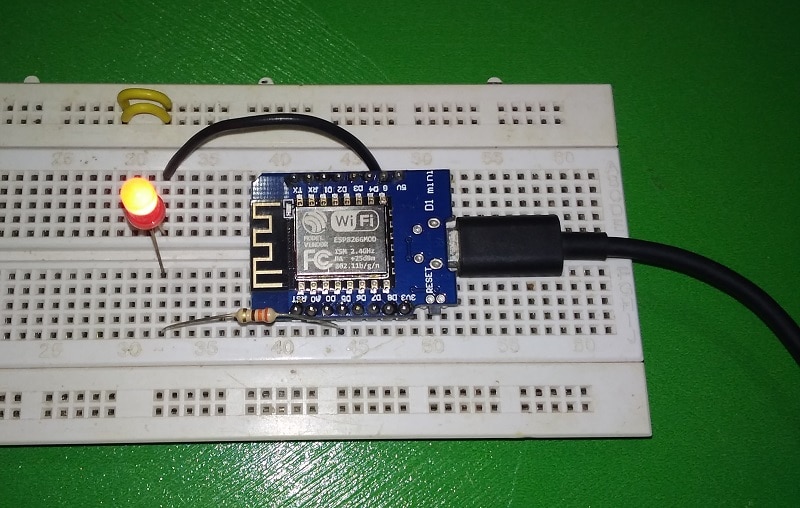
Below arrange has been done on a breadboard for testing raspberry pi based local server.
Testing
Once you power on the project, you can open the blynk app and check the device is connected to your local blynk server. Then if you press the switch in your blynk app the led light connected to D5 pin of WeMos D1 Mini will turn on and on press again the light will turn off.
This shows that your project is using local blynk server and further it doesn’t need any internet to access this local server. Like wise you can build your IoT projects and connect it with you blynk local server.
Conclusion
This is a simple project that can be built by any beginner to learn how to create a IoT Project and connect it using Local Blynk Server. This will also let you learn configuring a local blynk server on a raspberry pi.
