Interfacing MQ2 Gas Sensor with Arduino
There are many gas sensors available in the market which detects different types of gases. In this article we are going to learn about interfacing MQ2 Gas Sensor with Arduino. This tutorial is for absolute beginners, where they can understand the concept of connecting a gas sensor with Arduino Uno.
This tutorial can work as a gas alarm system. By adding few more components like buzzer and led will enhance the circuit. You can also modify it according to your need. Lets quickly see what are the components needed to build this project.
Parts List
For building this project you need some basic components.
- Arduino Uno (BEST BUY) x 1
- MQ2 Gas Sensor (BEST BUY) x 1
- Breadboard (BEST BUY) x 1 [Optional]
- Jumper cables (BEST BUY)
How it Works?
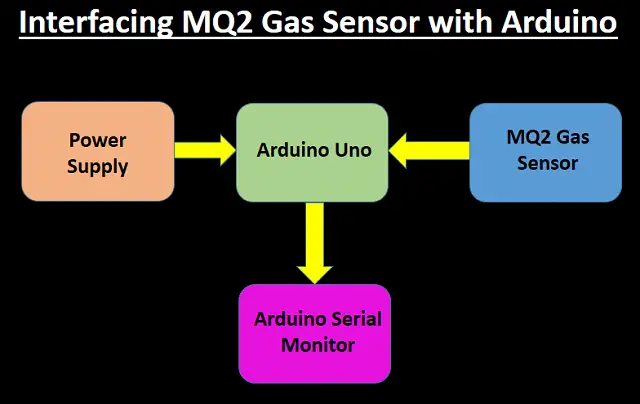
In this tutorial the MQ2 gas sensor keeps on monitoring the gas. If there is any presence of gas detected it will send a notification to Arduino and Arduino to take actions accordingly.
MQ2 Gas Sensors
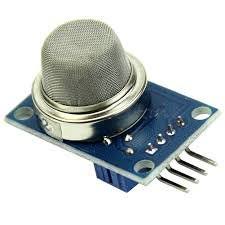
MQ series gas sensors are most widely used for detecting different types of gas. These sensors can either be bought as a module or as the sensor alone. If you want to detect gas only then you can use the module. Since the module come with a Op-amp IC that is capable of giving a digital output. In case you are trying to measure PPM value then you can go for the sensor only.
Using MQ2 Gas sensor
MQ-2 Gas sensor is capable of detecting gasses like Alcohol, LPG, Propane, Hydrogen, Carbon Mono Oxide and methane. The module comes with a Digital Pin which helps this sensor to work even without a microcontroller. This arrangement is useful when you are simply attempting to identify one specific gas.
This module also has a analog which can be used to detect the gas level in ppm. The analog pin additionally TTL driven and and can be driven using 5V. This also makes this module to be used with most basic microcontrollers.
So if you want to detect or measure gasses like Alcohol, LPG, Propane, Hydrogen, Carbon Mono Oxide and methane using or without using a microcontroller then this sensor will be right choice.
Must Read:
- Send DS18B20 Temperature Sensor data to ThingSpeak
- IoT based Timer Switch using Blynk and NodeMCU
- ESP32 based Switch Notification Project using Blynk
- How to read DHT11 sensor data using Blynk
- Interfacing LM35 Temp Sensor with Arduino
- PIR based Motion Switch | PIR Sensor Light
How MQ2 Sensor detects gas?
Detecting gas using MQ2 sensor is very easy and simple. Since there are two pins present in the module, hence you can use either the digital pin or the analog pin to get results.
All you have to do is power up the module using 5V which will enable the power led (Red in color). If there is no gas detected then output LED will be in off state. If the sensor senses a gas the output led will be turned on.
Also do remember that theses sensor modules have pre-heating time. You have to power on the module and it might take 15 min to complete pre-heating. After pre- heating the sensor will work properly to detect gasses or detect the PPM level.
In similar way you can use the analog pin to get the values. Here you have to read the analog values (0-5V) with a microcontroller. The output value will be directly proportional to the concentration of the gas. You can try different things with this qualities and check how the sensor responds to various convergence of gas and build up your program appropriately.
Uses of MQ2 sensor
- Detects or measure gases like Alcohol, LPG, Propane, Hydrogen, Carbon Mono Oxide and methane
- Air quality monitor
- Gas leakage alarm
- Safety standard maintenance
- Monitoring environment at hospitals
Connection Diagram
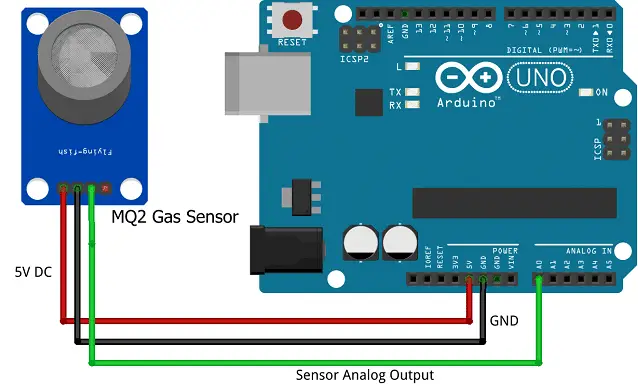
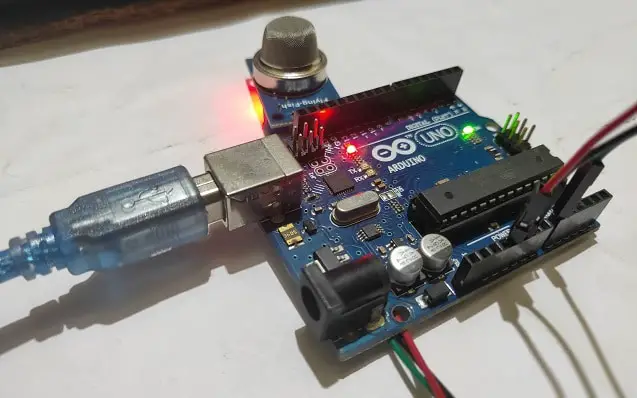
MQ2 sensor is connected with Arduino Uno. We have connected Analog pin of gas sensor to A0 pin of Arduino and power supply Vcc and GND respectively.
Code
This code is simple and easy to understand. It is configured with 2 LED’s which acts as visual indicators. Led’s are optional. Copy the below code in Arduino IDE and compile then upload.
#define MQ2pin (0) // connected to A0 pin of Arduino
int redLed = 12;  // connected to D12 pin of Arduino
int greenLed = 11;  // connected to D11 pin of Arduino
float sensorValue; //variable to store sensor value

void setup()
{
pinMode(redLed, OUTPUT);
pinMode(greenLed, OUTPUT);
Serial.begin(9600); // sets the serial port to 9600
Serial.println("Gas sensor warming up!");
delay(20000); // allow the MQ2 sensor to warm up for 20 sec
}

void loop()
{
sensorValue = analogRead(MQ2pin); // read analog input pin A0

Serial.print("Sensor Value: ");
Serial.print(sensorValue);

if(sensorValue > 300) //Threshold Value
{
Serial.print("Smoke Detected!");
digitalWrite(redLed, HIGH);
digitalWrite(greenLed, LOW);
}
else
{
digitalWrite(redLed, LOW);
digitalWrite(greenLed, HIGH);

}
Serial.println("");
delay(2000); // wait 2s for next reading
}
Construction & Testing
Once the connection is made as per circuit diagram and powered, Open the Serial monitor in Arduino IDE.
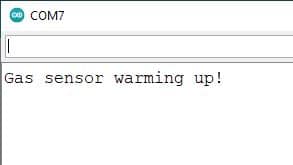
It will show the below message as the Gas sensor will be warming up.
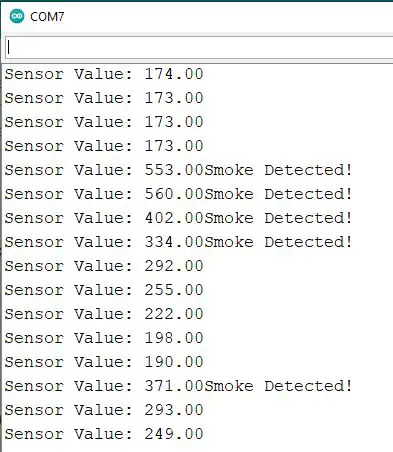
Once the Warmup is complete the sensor will start sending the sensor value. Once the sensor detects the presence of any gas or smoke it will show as Smoke Detected!. We have configured the threshold value of 300 in the code. Once the sensor value increases during the presence of any gas or smoke and goes beyond 300 then the message will be shown.
Conclusion
This tutorial on Interfacing MQ2 Gas Sensor with Arduino is useful for beginners and they can modify or enhance it according to their needs. Upon following this tutorial you will be able to understand the concept of connecting a MQ2 gas sensor with Arduino.
